
Designs for patios do it yourself have become increasingly popular among homeowners seeking to improve their outdoor living spaces affordably. If you’re curious about creating your own patio oasis, here’s a quick look at some innovative and budget-friendly ideas:
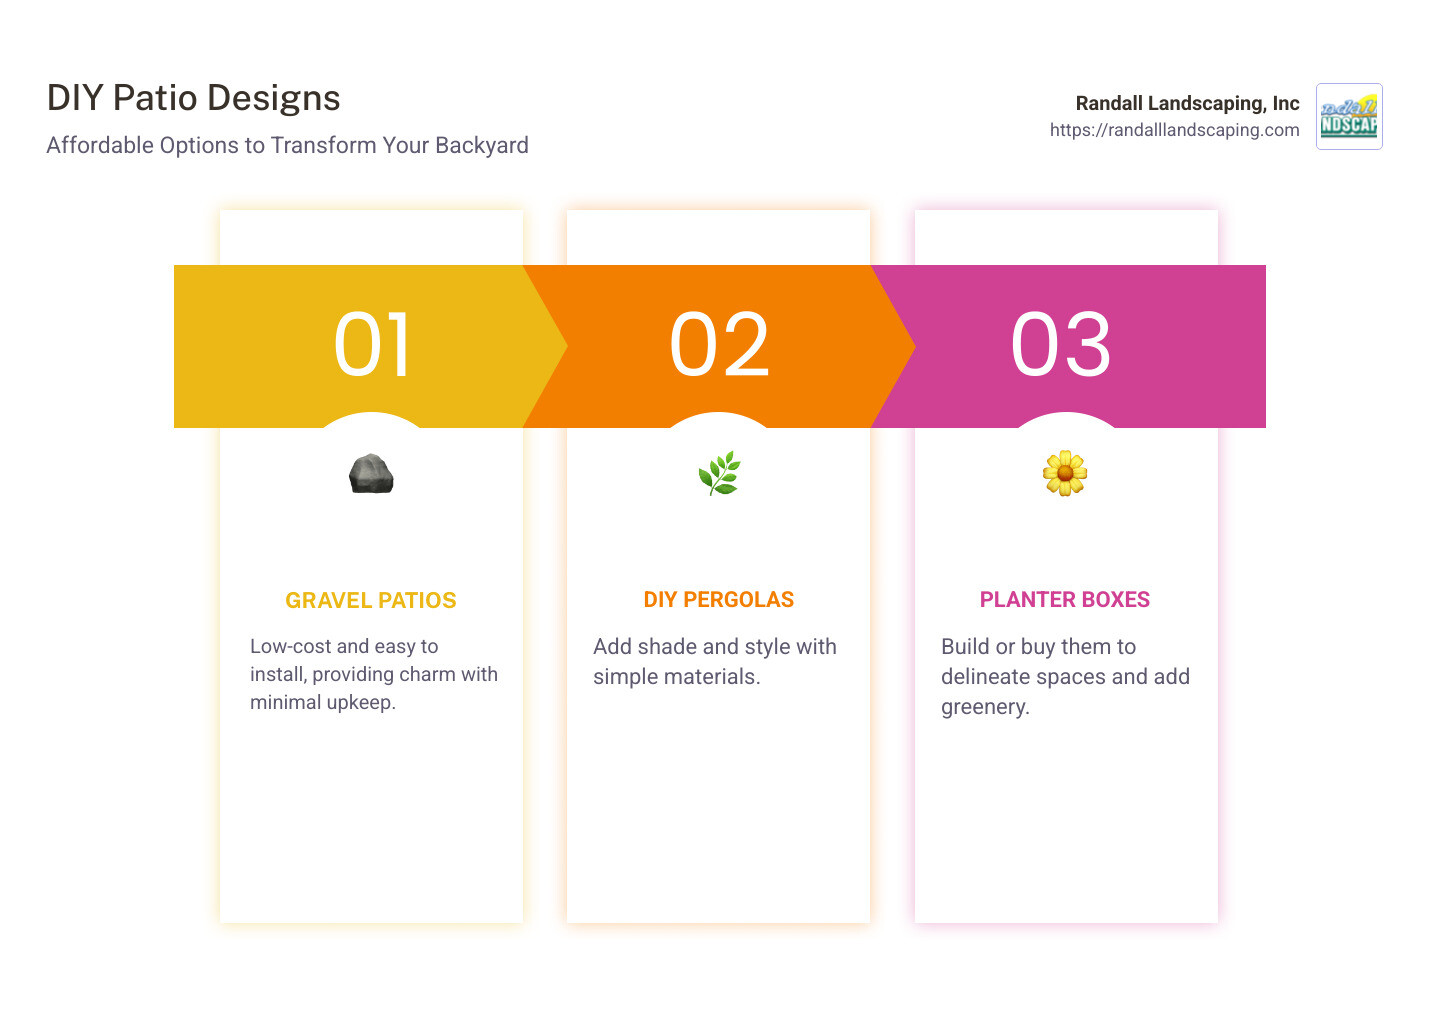
- Gravel Patios: Low-cost and easy to install, providing charm with minimal upkeep.
- DIY Pergolas: Add shade and style with simple materials.
- Planter Boxes: Build or buy them to delineate spaces and add greenery.
Changing your backyard need not break the bank. Stick around as we dive deeper into accessible solutions that lift your outdoor areas.
I’m Tommy Randall, owner of Randall Landscaping. With 18 years of experience, I’ve been guiding homeowners in Southern NH and Massachusetts to create stunning designs for patios do it yourself. Whether it’s a cozy nook or a spacious gathering area, I’m here to turn your vision into reality, starting right now.
Designs for Patios Do It Yourself
Creating a DIY patio can be a rewarding project that lifts your outdoor space without draining your wallet. Here are some simple and affordable ideas to get you started:
Simple Designs
-
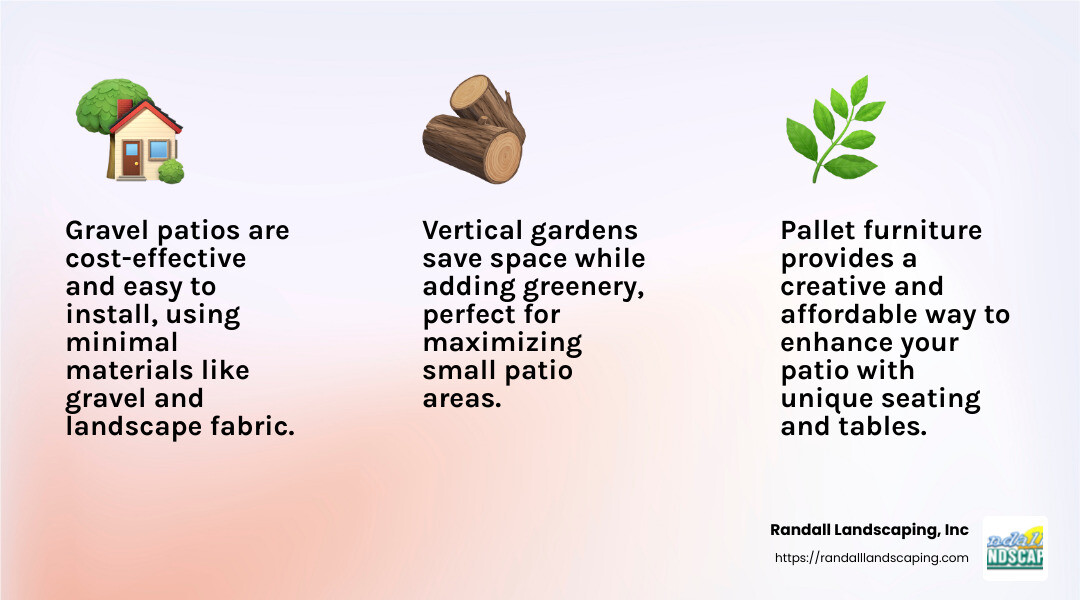
Gravel Patios: One of the simplest and most budget-friendly options. Gravel patios require minimal materials: gravel, landscape fabric, and edging. They’re perfect for a quick change with a natural look.
-
Brick or Stone Patterns: Use reclaimed bricks or stones to create unique patterns. These materials are often available at a lower cost from demolition sites, adding character and sustainability to your patio.
Affordable Options
-
Pallet Furniture: Repurpose wooden pallets to craft tables and seating. This approach is not only cost-effective but also allows for creativity with paint colors and arrangements.
-
Concrete Slabs: For a modern and sleek look, consider concrete slabs. They offer durability and can be customized with stains or paints to match your desired aesthetic.
Creative Ideas
-
Vertical Gardens: Install a vertical garden to add greenery without sacrificing space. Use old frames or hang window baskets to dress up bare walls.
-
DIY Pergolas: A pergola can be built with basic materials like wood and steel brackets. It provides shade and a touch of elegance to any patio.
-
Zoned Spaces: Create distinct areas for dining, lounging, or gardening. Use furniture arrangements or planter boxes to define these zones, giving your patio a functional flow.
These designs for patios do it yourself are not only budget-friendly but also customizable, allowing you to express your personal style. With a little effort and creativity, you can transform your backyard into a beautiful retreat.
Next, we’ll explore the essential tools and materials you’ll need to bring these ideas to life.
Essential Tools and Materials
Building your own patio may seem daunting, but with the right tools and materials, you can create a professional-looking outdoor space. Here’s what you’ll need to get started:
Must-Have Tools
-
Level: Ensures your patio surface is even and stable.
-
Rubber Mallet: Useful for setting pavers or stones without causing damage.
-
Shovel and Spade: Essential for digging and preparing the ground.
-
Tamper: Compacts soil and base materials to provide a solid foundation.
-
Wheelbarrow: Handy for transporting heavy materials like gravel and sand.
Key Materials
-
Pavers: Available in various shapes and colors, pavers offer a durable and attractive surface. Options include concrete, brick, and natural stone. Each has its own charm and can complement different home styles.
-
Gravel: A versatile and affordable choice for base layers or entire patios. Gravel provides excellent drainage and can be combined with other materials for a unique look.
-
Sand: Used for leveling and filling joints between pavers. It helps keep everything in place and adds stability to your patio.
-
Edging Materials: These keep your patio’s structure intact, preventing the spread of gravel or pavers. Options include metal, plastic, or natural stone.
Additional Tips
-
Choose Materials Wisely: Consider the durability and maintenance requirements of each material. Make sure they complement your home’s exterior and withstand local weather conditions.
-
Plan for Drainage: Proper drainage is crucial. Ensure your patio slopes slightly away from your home to prevent water pooling.
By gathering these essential tools and materials, you’re well on your way to creating a stunning DIY patio. Next, we’ll guide you through the step-by-step process of planning and building your patio.
Step-by-Step Guide to Building Your Patio
Creating your own patio is a rewarding project. With careful planning and execution, you can transform your outdoor space into a functional and beautiful area. Let’s break down the steps to get you there.
Planning
Start by deciding on the size and location of your patio. Consider how you’ll use the space. Is it for dining, lounging, or both? Measure the area to ensure it fits your needs and complements your home.
Tip: Check for any underground utilities before you dig. Contact local authorities if necessary.
Layout
Once you’ve planned the space, it’s time to lay it out. Use stakes and string to mark the perimeter. This will help you visualize the design and make adjustments before any digging begins.
Tip: Consider creating zones within your patio for different activities, like dining or relaxing.
Installation
-
Excavate the Area: Dig out the area to a depth of about 6 inches, plus the thickness of your pavers. This ensures a stable base.
-
Prepare the Base: Add a layer of landscape fabric to prevent weeds. Then, spread and compact a layer of gravel. This provides drainage and stability.
-
Add Sand Layer: Spread a layer of sand over the gravel and level it using a straight board. This creates a smooth surface for the pavers.
-
Lay the Pavers: Start from one corner and work your way out. Use a rubber mallet to set each paver firmly in place. Ensure they are level and adjust with sand as needed.
-
Fill the Joints: Once all pavers are in place, sweep sand into the joints. This locks them together and adds stability.
Leveling
Leveling is crucial for a smooth, even patio. Use a level frequently throughout the process to check your work. Adjust as necessary with sand under the pavers.
Tip: A slight slope away from your home is recommended for drainage purposes.
By following these steps, you’ll create a stunning DIY patio that’s both functional and inviting. Next, we’ll explore how to improve your patio with additional features to make it truly special.
Enhancing Your Patio with Features
Now that you’ve laid the foundation of your DIY patio, it’s time to add features that will make your outdoor space not just functional, but extraordinary. Here are some ways to lift your patio experience:
Fire Pits
A fire pit can be the heart of your patio. It provides warmth and becomes a natural gathering spot for family and friends. You can create a simple fire pit with a galvanized steel ring or use fire-resistant stones and bricks. Always check local regulations and safety guidelines before starting your project.
Pro Tip: Digging the fire pit into the ground can improve safety and minimize the look of the fire ring.
Outdoor Kitchens
Transform your patio into a culinary haven with an outdoor kitchen. A built-in barbecue area offers more grilling space and can withstand weather better than portable grills. While more complex than other projects, a DIY outdoor kitchen is achievable with patience and planning.
Key Steps:
- Choose durable materials like stone or stainless steel.
- Plan for storage, counter space, and a prep area.
- Consider installing a small refrigerator for convenience.
Seating Walls
Seating walls are a clever way to add both structure and function to your patio. A curved, 24-inch seating wall can provide ample seating for guests without taking up much space. These walls can also define different zones on your patio, such as dining or lounging areas.
Design Tip: Use materials that match or complement your patio pavers for a cohesive look.
Lighting
Proper lighting can transform your patio into a magical space once the sun goes down. It not only improves safety but also sets the mood for evening gatherings.
Lighting Ideas:
- String Lights: Create a cozy atmosphere by hanging string lights overhead.
- Solar Path Lights: Line walkways with solar-powered lights for an eco-friendly option.
- Spotlights: Highlight key features like plants or architectural elements.
By incorporating these features, you can create a patio that’s not only a place to relax but also a space that reflects your personal style. Up next, we’ll tackle some common questions about building and maintaining DIY patios.
Frequently Asked Questions about DIY Patios
What is the simplest DIY patio?
If you’re looking for a straightforward project, a pea gravel patio is your best bet. It’s an easy and cost-effective way to create a beautiful outdoor space. All you need is landscape fabric to prevent weeds, some edging to keep the gravel in place, and, of course, the pea gravel itself.
Steps to Create a Pea Gravel Patio:
- Mark the Area: Use stakes and string to outline your patio.
- Prepare the Ground: Remove any grass or debris and level the area.
- Lay Landscape Fabric: Place the fabric to prevent weeds from growing through.
- Add Edging: Install edging around the perimeter to keep the gravel contained.
- Spread Pea Gravel: Pour the gravel and spread it evenly with a rake.
This type of patio is not only simple but also flexible in design. You can easily adjust the shape and size to fit your space.
What is the cheapest type of patio to build?
When it comes to affordability, gravel and concrete are the top contenders for budget-friendly patios.
-
Gravel Patios: Gravel is one of the least expensive materials available. It’s easy to install and maintain, making it a popular choice for DIY projects. Plus, it offers excellent drainage, which is a bonus in wet climates.
-
Concrete Patios: Concrete is another affordable option. While it requires more effort to install than gravel, the result is a durable and long-lasting surface. You can even get creative with concrete by adding color or using stamps to mimic the look of natural stone.
Cost Consideration: Gravel is generally cheaper per square foot compared to concrete, but concrete offers more durability.
How much does it cost to build a patio yourself?
Building a patio yourself can save you a significant amount of money compared to hiring professionals. The cost will vary based on the materials used and the size of your patio.
Average Costs:
- Pea Gravel Patio: Around $1 to $3 per square foot.
- Concrete Patio: Approximately $3 to $6 per square foot.
DIY vs Professional: By opting to do it yourself, you avoid labor costs, which can be a substantial part of the total expense. However, keep in mind that professional installations often come with warranties and a higher level of expertise.
Choosing to build your own patio can be a rewarding project that improves your outdoor living space without breaking the bank. Next, we’ll explore some practical tips for maintaining your DIY patio to ensure it stays beautiful for years to come.
Conclusion
At Randall Landscaping, Inc., we believe that a well-designed patio can transform your outdoor space into a haven of relaxation and enjoyment. Our focus on customer satisfaction and quality work ensures that every project we undertake meets the highest standards.
Whether you’re starting on a DIY patio project or seeking professional assistance, we are here to support you every step of the way. Our team is committed to helping you achieve the backyard of your dreams with innovative designs and reliable service.
By choosing Randall Landscaping, you can expect:
- Expert Guidance: Our experienced team provides insights and advice custom to your specific needs.
- High-Quality Materials: We use only the best materials to ensure your patio is both beautiful and durable.
- Customized Solutions: Whether you want a simple gravel patio or a more elaborate design, we can create a space that fits your vision and budget.
If you’re ready to start your patio project or need further assistance, visit our Patio Design page to learn more about our services. Let us help you create an outdoor space that you’ll love for years to come.
Thank you for considering Randall Landscaping, Inc. for your patio needs. We look forward to working with you and bringing your outdoor dreams to life.