Why Choose a Bluestone Walkway?
How to install a bluestone walkway involves excavating 6-8 inches deep, creating a compacted gravel base, adding a stone dust setting bed, laying the bluestone pavers with consistent spacing, and filling joints with polymeric sand. Here’s the essential process:
- Site Preparation – Mark the path, excavate 6-8 inches deep, slope away from house (1/4″ per foot)
- Base Installation – Add 4-6 inches of compacted 3/4″ crushed stone in 2-3 inch layers
- Setting Bed – Spread 1-2 inches of stone dust, level and smooth
- Paver Installation – Lay bluestone with 1/2″ gaps, tap level with rubber mallet
- Finishing – Fill joints with polymeric sand, sweep clean, mist to activate
Bluestone is a natural stone with incredible durability. Many bluestone sidewalks installed over a century ago in cities like Philadelphia and Boston are still in use today, proving its longevity.
Bluestone offers best benefits for your walkway project:
- Superior longevity – walkways lasting 100+ years
- Natural slip resistance – safe in wet conditions
- Timeless beauty – complements any architectural style
- Easy maintenance – repositioning shifted pavers is simple
- Utility access – lift pavers temporarily for repairs
This guide covers each step of the installation process. While labor-intensive, installing a bluestone walkway is an achievable DIY project with the right approach.
I’m Tommy Randall, owner of Randall Landscaping. Since 2006, I’ve helped homeowners in Massachusetts and New Hampshire create stunning outdoor spaces. With nearly two decades of hardscape installation experience, I know how to install a bluestone walkway that lasts and improves curb appeal. Let me share my proven techniques for professional-quality results.

Planning Your Project: Tools, Materials, and Considerations
Proper planning is essential before you begin. How to install a bluestone walkway successfully starts with thorough preparation. This is a physically demanding project that requires precision and patience, but with the right plan, you can achieve professional-quality results.
Safety is the top priority. Safety glasses, work gloves, and sturdy boots are non-negotiable. A crucial step many DIYers skip is calling 811 before digging. It’s a free service, required by law in most places, that marks underground utility lines to prevent a dangerous accident.
Deciding whether to DIY or hire a professional is a major consideration. Installing a bluestone walkway is hard work, involving moving tons of material. If you have physical limitations, a tight schedule, or prefer the peace of mind of a professional job, hiring a contractor is a great option.
For homeowners in the Merrimack Valley and Southern New Hampshire, our team at Randall Landscaping has been creating beautiful hardscapes since 2006. We handle everything from planning to cleanup and stand behind our work with 100% reliability. You can learn more about what sets us apart from other hardscape companies.

Essential Tools and Materials
Having the right equipment is key. For this project, you will need:
- Excavation Tools: A sturdy shovel, wheelbarrow, and garden rake.
- Compaction: A hand tamper is suitable for small areas, but for most walkways, renting a gas-powered plate compactor (around $60-80/day) is essential for preventing settling.
- Layout & Setting: A 4-foot level, rubber mallet, mason’s line and stakes, a pointed trowel, and a push broom.
- Cutting: A rented masonry saw with a diamond blade ($100-150/day) is necessary for cutting stones.
Key materials include:
- Bluestone Pavers: Order 10-15% extra for cuts and waste.
- Base Layer: Use 3/4-inch crushed stone (“crusher run” or “processed gravel”) for its excellent compaction and frost heave resistance.
- Setting Bed: A 1-inch layer of stone dust or coarse sand. A mix of seven parts stone dust to one part Portland cement can be used for added stability.
- Joint Filler: Polymeric sand is recommended to lock pavers in place and prevent weeds.
- Edging: Steel or plastic edging contains the base materials and creates a clean border.
Understanding Bluestone: Types and Finishes
Understanding your bluestone options is key.
- Types: Pennsylvania and New York bluestone are the industry standards, known for their quality and beautiful blue-gray tones with hints of green, lavender, and brown. “Full-color” blends offer a wider range of natural tones.
- Finishes: Natural cleft is the most popular finish, offering a classic, slip-resistant texture. A thermal (flamed) finish is more uniform and refined. Honed finishes are smooth but can be slippery when wet and are not ideal for walkways.
- Shapes and Sizes: Choose from irregular flagstone for an organic look or dimensional cut stones for geometric patterns. Walkway pavers are typically 1-2 inches thick.
Budgeting for Your Walkway: A Look at Costs
Budgeting is a crucial step. The following are average costs based on internet data and are not actual costs for Randall Landscaping; actual pricing varies by region, scope, and market conditions.
- Material Costs (DIY): Internet-reported averages often fall around $30-40 per square foot, but real-world pricing ranges widely from about $20 to $120+ per square foot depending on stone selection, thickness, base depth, site access, and disposal needs.
- Bluestone Pavers: Approximately $6-12 per square foot for standard natural cleft; $20-40+ per square foot for premium/select or thermal-finished stones.
- Base Materials (gravel + stone dust): Typically around $8-12 per square foot on average; ranges from about $5 to $35+ per square foot depending on base depth, drainage requirements, and haul distance.
- Tool Rental (internet-based averages): A plate compactor is roughly $50-200+ per day, and a masonry saw with a diamond blade is roughly $75-300+ per day, depending on region and rental tier.
- Professional Installation: Hiring a professional adds labor costs but saves you time and physical effort, and includes expertise and warranties. For custom quotes, visit our hardscaping page.
Your Step-by-Step Guide on How to Install a Bluestone Walkway
Now it’s time to build. How to install a bluestone walkway is a labor-intensive but rewarding project. The key to success is patience and precision. Rushing these steps can lead to shifting stones or drainage problems. Follow each step carefully for professional results.

Step 1: Site Preparation and Layout for your Bluestone Walkway
A 4-foot wide walkway is ideal for residential use.
- Mark the Path: Use spray paint, stakes, and mason’s line to create precise boundaries. Mark the area 6 inches wider than the final walkway to allow room for work. Use the 3-4-5 triangle method to ensure square angles where needed.
- Call 811: This is a mandatory safety step to locate underground utilities. Plan for 2-3 business days’ notice.
- Clear the Area: Once utilities are marked, remove all sod, topsoil, old concrete, and debris. Relocate any plants in the path.
Step 2: Excavation and Creating a Stable Base
A proper base is the most critical part of the installation, preventing settling, shifting, and frost heave.
- Excavate: Dig to a depth of 6-8 inches below the final grade. In New England’s climate, especially with clay soil, 8 inches is recommended to prevent frost damage.
- Grade for Drainage: Slope the excavated area away from your house at a rate of 1/4 inch per foot. Use a level to ensure a consistent grade.
- Compact Subsoil: Use a plate compactor to thoroughly compact the exposed subsoil.
- Install Gravel Base: Add 4-6 inches of 3/4-inch crushed stone. Apply it in 2-3 inch layers, compacting each layer thoroughly before adding the next.
- Add Setting Bed: Spread a 1-2 inch layer of stone dust or coarse sand. For a more rigid base, you can use a mix of 7 parts stone dust to 1 part Portland cement.
- Screed the Bed: Use a straight 2×4 to screed the setting bed, creating a perfectly smooth and level surface.
Step 3: Best Practices for Laying and Setting the Bluestone Slabs
For irregular stones, dry lay the pattern on your lawn first to find a pleasing arrangement. Number the stones and take a photo for reference.

- Start Laying: Begin at one end, such as against the house, to establish a reference point.
- Place Stones: Carefully set each stone on the setting bed, leaving a consistent 1/2 to 3/4-inch gap between them.
- Set with Mallet: Gently tap each stone with a rubber mallet until it is solidly seated. Avoid excessive force, which can crack the stone.
- Check Level: Constantly use your level on individual stones and across adjacent ones. Adjust the setting bed material underneath as needed to correct the height and eliminate any rocking.
- Maintain Slope: Periodically check the overall slope for drainage with your level across multiple stones.
Step 4: Filling Joints and Finishing Touches
This final stage locks the stones into a unified walkway.

- Apply Polymeric Sand: On a completely dry surface, spread polymeric sand and use a push broom to sweep it deep into all the joints until they are full.
- Clean the Surface: This is a critical step. Use a leaf blower or fine broom to remove all excess sand from the paver surfaces. Any remaining sand will harden and cause a permanent haze.
- Activate the Sand: Lightly mist the joints with a garden hose on a fine spray setting. Do not flood the area. A second light misting may be needed after 10-15 minutes to ensure full activation.
- Install Edging: Install steel or plastic edging to create a clean border and contain the base materials. Secure it with stakes for a finished look.
For additional expert guidance on how to install a bluestone walkway, check out this helpful resource: How to Build a Bluestone Walkway.
Bluestone Walkways: Pros, Cons, and Long-Term Care
Understanding the pros and cons of bluestone helps you make an informed decision. While the initial investment and installation effort are significant, most homeowners find the long-term benefits of durability, beauty, and low maintenance provide excellent value.
| Pros | Cons |
|---|---|
| Superior durability & longevity | Higher initial cost |
| Natural non-slip texture | Can get hot in direct sun |
| Timeless aesthetic & natural beauty | Heavy material (labor-intensive to install) |
| High-end, luxurious look | Potential for frost heave if base is inadequate |
| Easy to repair/reposition | May require sealing for stain protection |
| Permeable (allows water to roots) |
Maintaining and Enhancing Your Walkway
With simple, regular care, your bluestone walkway will stay beautiful for decades.
- Regular Cleaning: Sweep regularly with a stiff broom to remove debris. For deeper cleaning, use a pH-neutral stone cleaner and a soft brush, avoiding harsh chemicals or pressure washers.
- Maintain Joints: If polymeric sand settles over time, sweep fresh sand into the gaps and mist with water to reactivate it.
- Seal the Stone: Applying a quality penetrating stone sealant every 3-5 years protects against stains and improves the stone’s natural color.
- Easy Repairs: A major advantage of bluestone is that individual stones can be easily lifted and reset if they become loose or uneven.
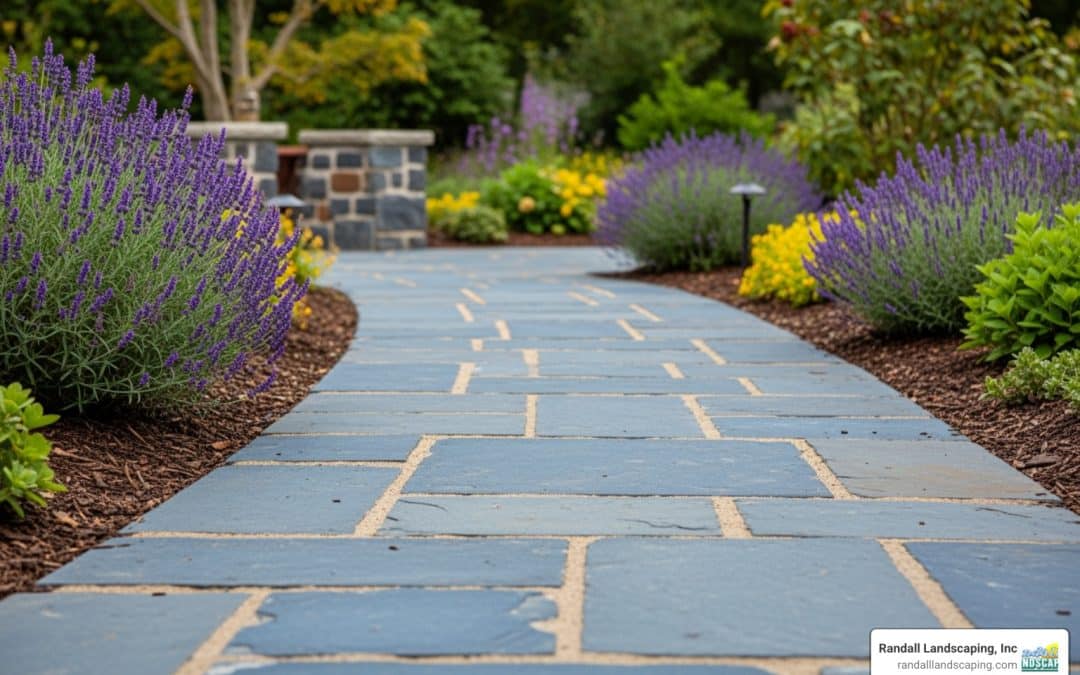
- Improve with Landscaping: Planting flowers or shrubs and adding low-voltage lighting along the path improves safety and transforms your walkway into a stunning garden feature.
For homeowners across the Merrimack Valley and Southern New Hampshire who want a complete outdoor change, our team at Randall Landscaping can help create a cohesive landscape design that perfectly complements your new bluestone walkway. We serve clients throughout Amesbury, Andover, Atkinson, Boxford, Dracut, Georgetown, North Andover, North Reading, Pelham, Salem, Windham, Methuen, Lawrence, and Plaistow with professional landscape design and installation services.
Frequently Asked Questions about Bluestone Walkways
After nearly two decades of helping homeowners in the Merrimack Valley and Southern New Hampshire create beautiful outdoor spaces, I’ve heard just about every question you can imagine about bluestone walkways. Let me share the answers to the most common ones.
How deep should the base be for a bluestone walkway to prevent frost heave?
In cold climates like New England, a deep base is crucial to prevent frost heave caused by the freeze-thaw cycle. We recommend a total excavation of 7-8 inches. This allows for a 4-6 inch compacted gravel base, which provides the necessary drainage to prevent water from pooling and freezing beneath the pavers. For areas with heavy clay soil, an 8-inch minimum excavation is even better. This deep base is the best defense against shifting and damage during the winter.
Can I lay bluestone directly on dirt or sand?
No, you should never lay bluestone directly on dirt or sand. Without a proper, compacted gravel base, the walkway will lack structural support. This will inevitably lead to shifting, sinking, and uneven stones. Poor drainage will cause water to pool, leading to frost heave in winter and creating a constant battle with weeds. A stable, compacted base is the essential foundation for a durable, long-lasting walkway.
What is the best material to put between bluestone pavers?
Polymeric sand is the best material for filling the joints. When activated with water, it hardens to create a strong but flexible bond that offers several key benefits:
- Locks Pavers: It secures the stones, preventing them from shifting.
- Prevents Weeds: The hardened surface makes it very difficult for weeds to grow through the joints.
- Resists Erosion: It won’t wash out from rain or blow away in the wind like regular sand.
- Deters Insects: The solid barrier helps prevent ants and other insects from nesting under the pavers.
For a low-maintenance, professional-quality finish, polymeric sand is the superior choice over regular sand or stone dust.
Conclusion: Enjoy Your Timeless Bluestone Walkway
Congratulations on learning how to install a bluestone walkway. Following the steps for site preparation, base compaction, and paver setting results in a stunning natural stone path that adds significant value and curb appeal to your home. This project is a rewarding investment, creating a durable and beautiful feature that will last for decades. You now have the skills to build it yourself and make adjustments if needed over the years.
However, we understand that this is a demanding project requiring significant time, effort, and equipment. If a DIY installation isn’t for you, our team at Randall Landscaping is here to help. Since 2006, we’ve specialized in creating beautiful, durable bluestone walkways for homeowners throughout the Merrimack Valley and Southern New Hampshire. We have the experience and professional-grade equipment to handle the heavy lifting and ensure your walkway withstands our New England winters.
Whether you build it yourself or hire a professional, a bluestone walkway is a timeless investment in your home’s beauty.
Ready to get started on your walkway project? Get a quote for your walkway installation services and let our experienced team bring your vision to life with the quality and reliability that has made us a trusted name throughout the region.