
Why Sodding Your Lawn Delivers Instant Results
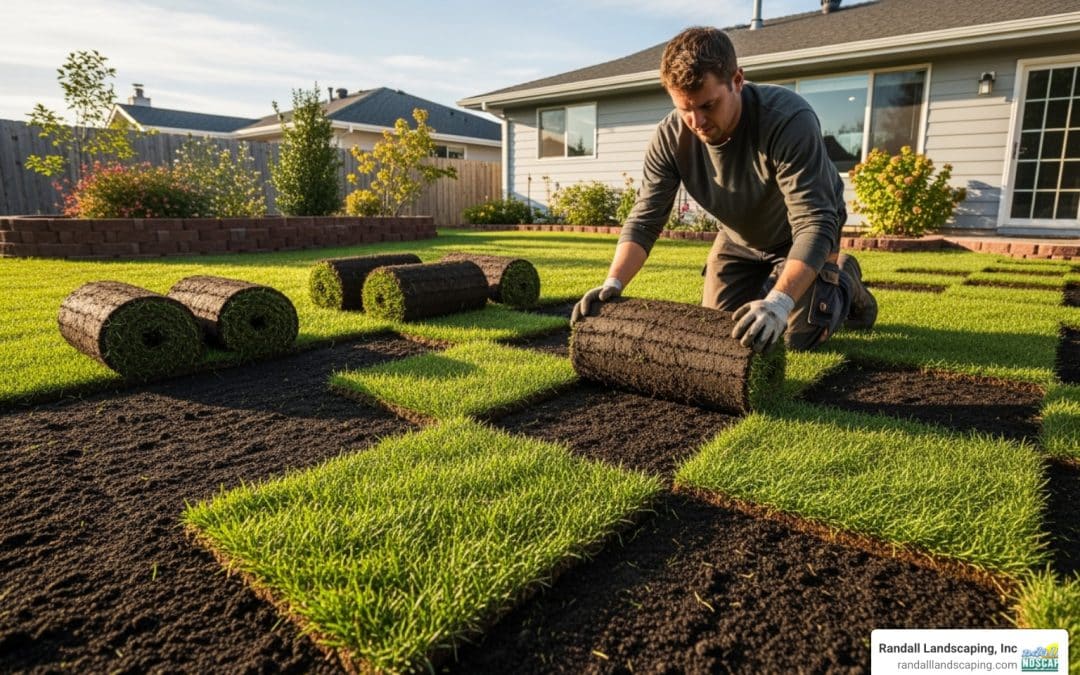
Sodding a lawn is the process of installing pre-grown grass rolls to create an instant, lush green yard. Unlike seeding, which takes weeks or months to establish, sod provides immediate results and can transform your property in a single day.
Quick Overview: Sodding Process
- Soil Preparation: Remove old grass, till soil 4-6 inches deep, level and grade
- Installation: Lay sod rolls in a staggered pattern, pushing edges together tightly
- Initial Care: Water thoroughly immediately, then daily for the first 2-3 weeks
- Timeline: Instant green lawn, fully rooted in 2-6 weeks
- Best Season: Spring through fall in most regions
Sodding offers instant gratification compared to seeding, which can take over a month just to show basic green coverage. This makes sod ideal for homeowners who want fast results or need to control soil erosion on slopes.
However, sodding is more expensive than seeding, typically costing $300-900 for 1,000 square feet according to industry data. You’ll also have fewer grass variety options, as sod farms grow what is commercially popular.
The key to successful sodding lies in proper soil preparation and installation. Many homeowners make costly mistakes like overlapping sod, leaving gaps, or inadequate watering during the critical establishment period.
I’m Tommy Randall, owner of Randall Landscaping. Since 2006, I’ve helped Massachusetts and New Hampshire homeowners achieve beautiful lawns through professional sodding lawn installation. With nearly two decades of experience, I know that proper technique is the difference between a thriving lawn and a failed investment.
Sod vs. Traditional Seeding: Making the Right Choice for Your Lawn
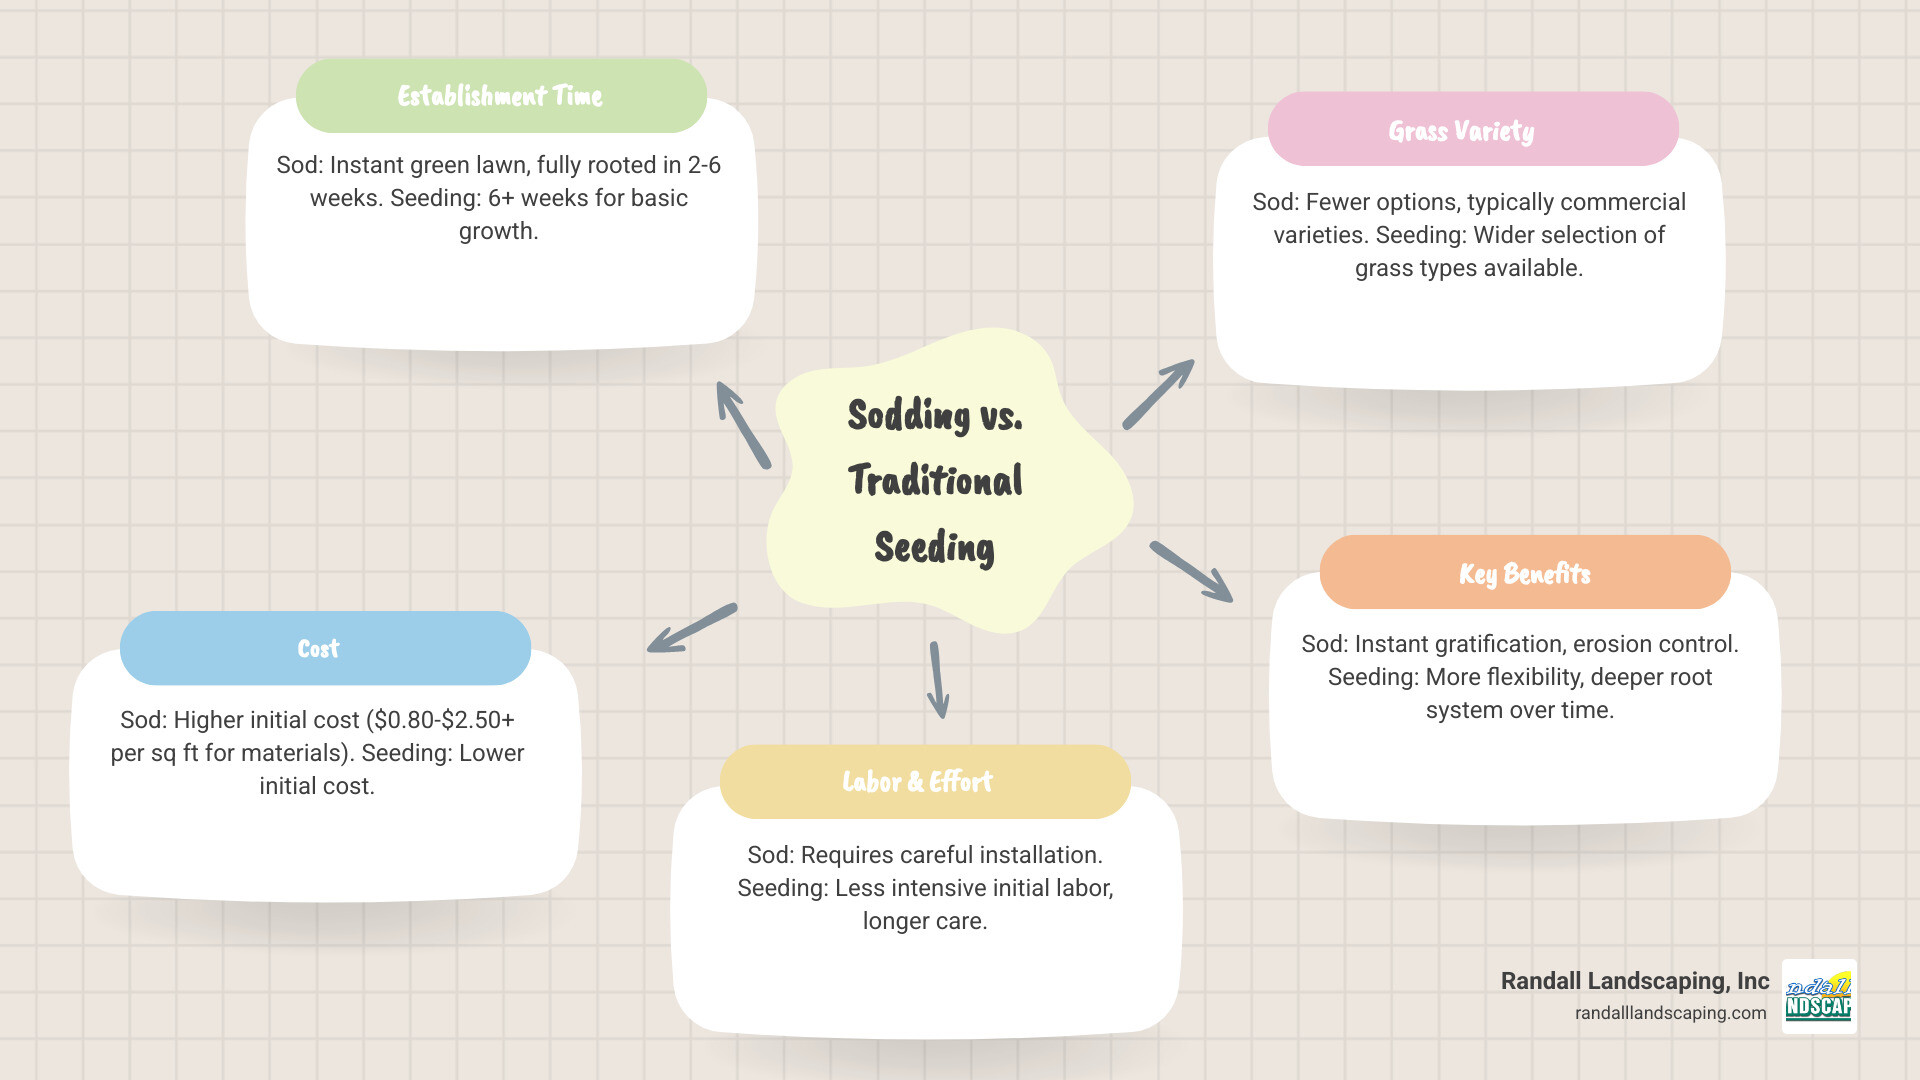
Choosing between sodding a lawn and traditional seeding is a common decision for homeowners. Sod gives you mature grass harvested in rolls from a farm, while seeding involves planting grass seeds and waiting for them to grow. Think of it as buying a finished painting versus starting with a blank canvas.
Here’s how these two approaches stack up:
| Factor | Traditional Seeding | Sodding Lawn |
|---|---|---|
| Cost | Lower initial cost | Higher initial cost |
| Establishment Time | Weeks to months for full establishment | Instant green, 2-6 weeks to root |
| Labor | Less intensive initially, but more long-term care | More intensive installation, less long-term care |
| Grass Variety | Wide selection of grass types and blends | Limited to what’s available from sod farms |
| Best Season | Late summer/early fall (cool-season grasses) | Spring through fall (most regions) |
| Erosion Control | Minimal initially | Excellent, immediate erosion control |
| Weed Competition | High vulnerability to weeds during establishment | Relatively weed-free initially |
| Root System | Develops deeper roots over time | Established roots that adapt to new soil |
The choice often comes down to your priorities. If you need instant results or erosion control, sod is your best bet. If you’re on a tight budget and can be patient, seeding is a viable option.
Advantages and Disadvantages of Traditional Seeding
Seeding is the patient gardener’s choice. Its biggest advantage is variety, allowing you to choose from dozens of grass types and custom blends for specific needs like shade or drought tolerance. Cost is another major plus, as seeding is a fraction of the cost of a sodding lawn installation, making it attractive for large areas.
However, seeding requires patience. You’re looking at 6 weeks minimum for basic coverage and months for a fully established lawn. Timing is also critical, with a narrow window in late summer/early fall for cool-season grasses in New England. Finally, weed competition is a major challenge, as bare soil invites weeds that easily outcompete young grass seedlings.
Advantages and Disadvantages of Sodding
Sodding a lawn is all about immediate gratification. One day you have dirt, the next you have a picture-perfect lawn. This makes it invaluable for instant erosion control on slopes or areas prone to washout. Another huge plus is flexibility in timing, as you can install sod anytime from spring through fall when the ground isn’t frozen.
Sod also gives your lawn a weed-free start, as it’s grown in controlled conditions. The main trade-off is cost; sod is significantly more expensive than seed in both materials and labor. The limited grass varieties can also be a drawback if you have specific needs not met by commercial sod farms. Lastly, the labor intensity of installation shouldn’t be underestimated. Sod is heavy and must be installed quickly upon arrival, making it a demanding physical task.
The Complete Guide to Sodding Your Lawn
If you’ve decided that sodding a lawn is right for you, proper preparation and installation are key to success. It’s about creating the perfect foundation for your new green carpet.
At Randall Landscaping, we specialize in New Lawn Installation across Massachusetts and New Hampshire. While we’re here to handle the heavy lifting, understanding the process helps you make informed decisions.
Step 1: Measuring and Preparing the Area
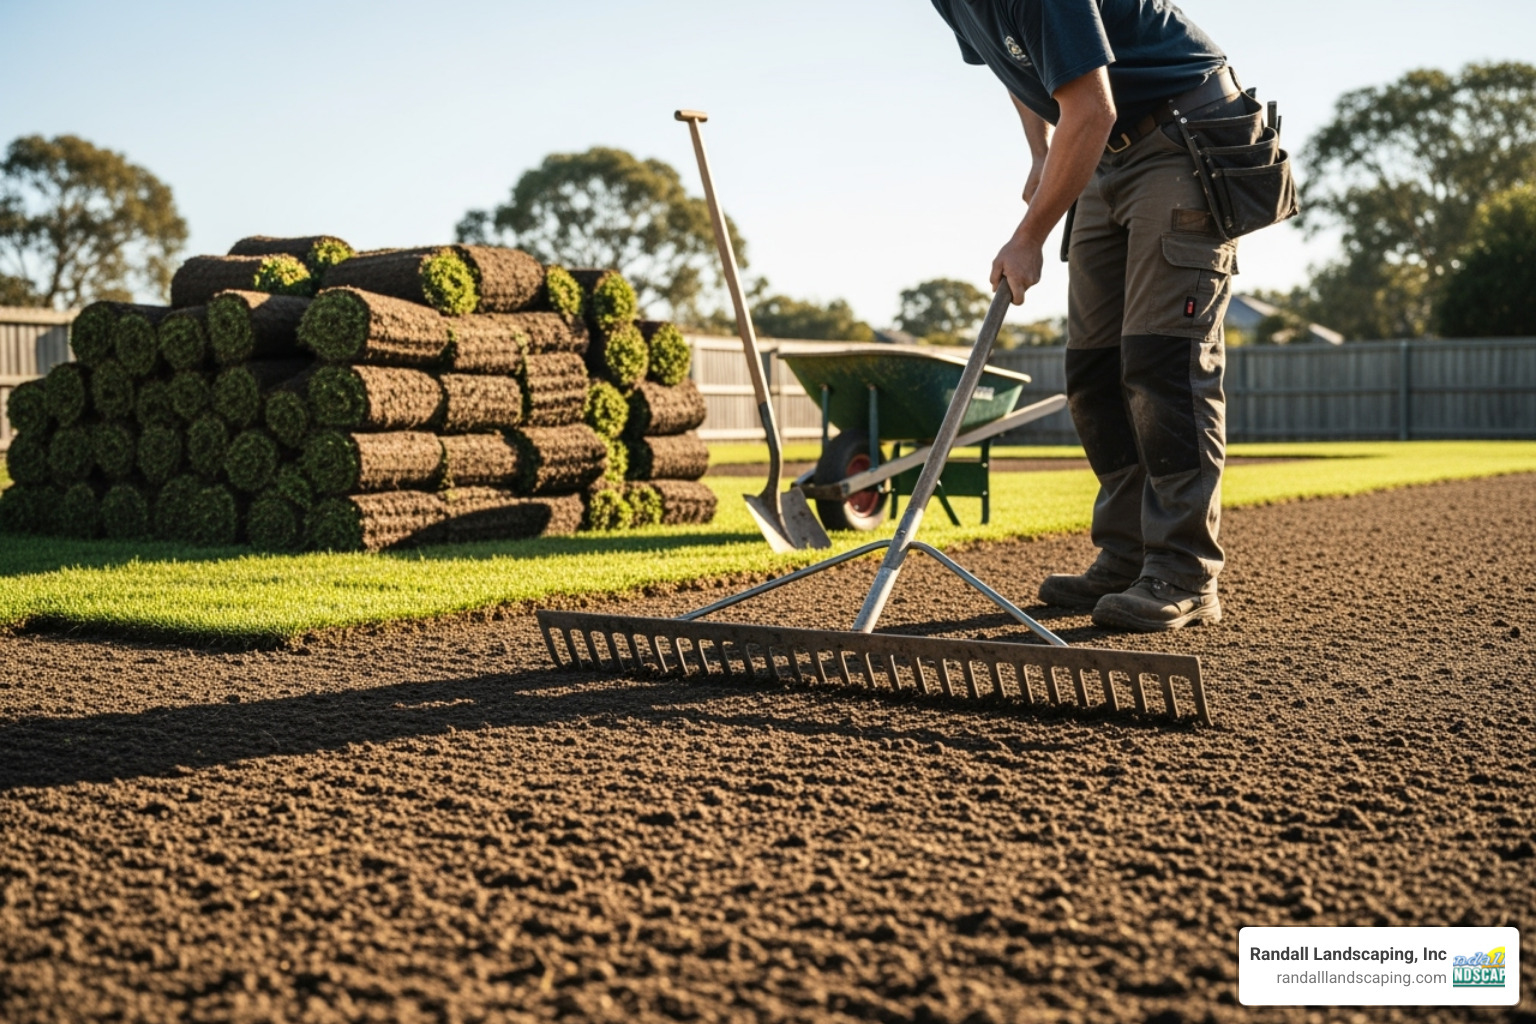
Proper soil preparation is the most critical step for a successful sodding lawn project.
- Measure and Order: Calculate your lawn’s square footage (length x width) and order about 5% extra sod to account for cuts and irregular shapes.
- Remove Old Lawn: Clear all old grass, weeds, rocks, and debris. A sod cutter can be rented for large areas. We recommend removing about an inch of old soil along with the grass.
- Till and Amend Soil: Loosen the soil to a depth of 4-6 inches. This improves drainage and helps roots establish. Test your soil’s pH (aiming for 6.0-7.0) and amend as needed with lime (to raise pH) or sulfur (to lower it). Tilling in a 2-3 inch layer of organic matter like compost will improve soil structure.
- Grade the Lawn: Rake the area smooth, ensuring the ground slopes away from your house foundation (a 1-foot drop over 50 feet is a good rule). The final soil level should be about an inch below adjacent sidewalks or driveways so the sod will sit flush. Lightly compact the soil with a lawn roller.
Step 2: How to Lay Sod for Best Results
Sod is perishable and should be installed the day it arrives. Work quickly and efficiently.
- Start Straight: Begin laying sod along the longest straight edge, like a driveway, to keep your lines straight.
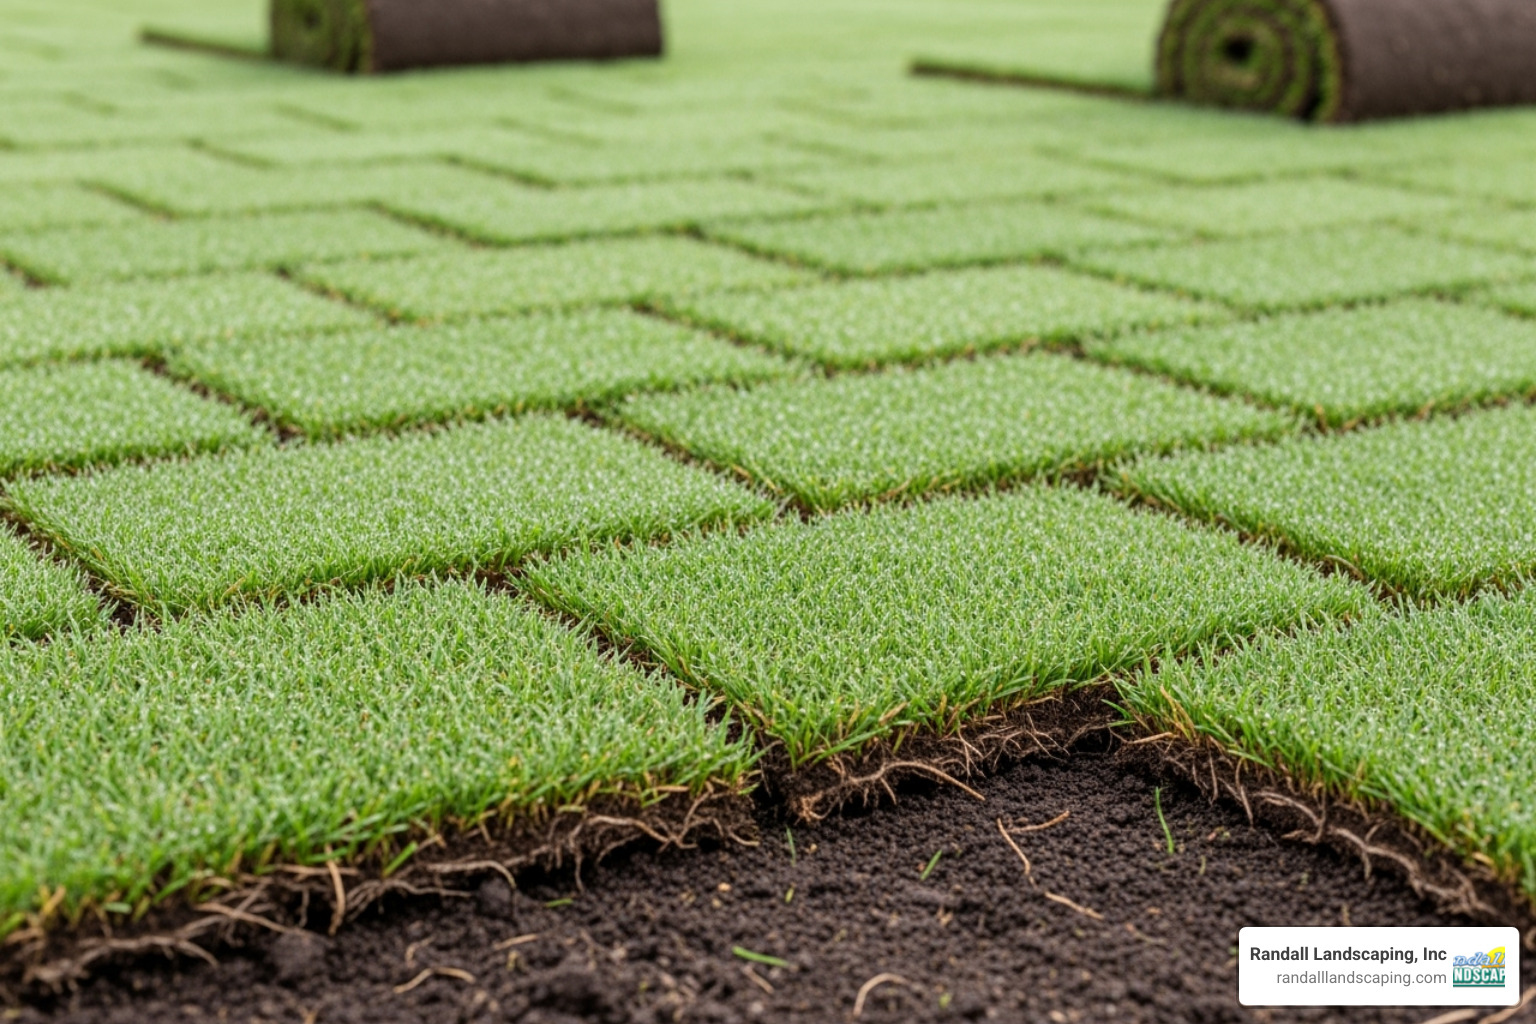
- Use a Staggered Pattern: Lay the sod in a brick-like pattern, offsetting the seams in each row. This prevents visible lines and helps lock the pieces together.
- Ensure Tight Seams: Push the edges of the sod pieces tightly together but do not overlap them. Gaps will dry out and create brown strips, while overlaps create uneven spots that won’t root properly.
- Cut to Fit: Use a sharp utility knife to cut sod pieces to fit around curves, sprinklers, and other obstacles.
- Roll the Sod: Once all the sod is laid, use a lawn roller to press it down firmly. This removes air pockets and ensures good contact between the sod roots and the soil.
Common Mistakes to Avoid When Sodding Your Lawn
Avoid these common pitfalls to ensure your project is a success:
- Overlapping edges or leaving gaps: Always butt edges together snugly.
- Improper soil preparation: Don’t skip tilling and amending the soil.
- Delaying installation: Lay sod the same day it’s delivered.
- Insufficient initial watering: The first watering should be a deep soak.
- Walking on new sod too soon: Stay off the lawn for at least a week to allow roots to take hold.
Caring for Your New Sod Lawn
Congratulations on your new lawn! The first few weeks of care are critical for establishing strong roots and ensuring the long-term success of your sodding lawn project. Once established, your lawn will be beautiful and resilient.
For ongoing support, consider our comprehensive Residential Landscaping Services.
How to Water Newly Laid Sod
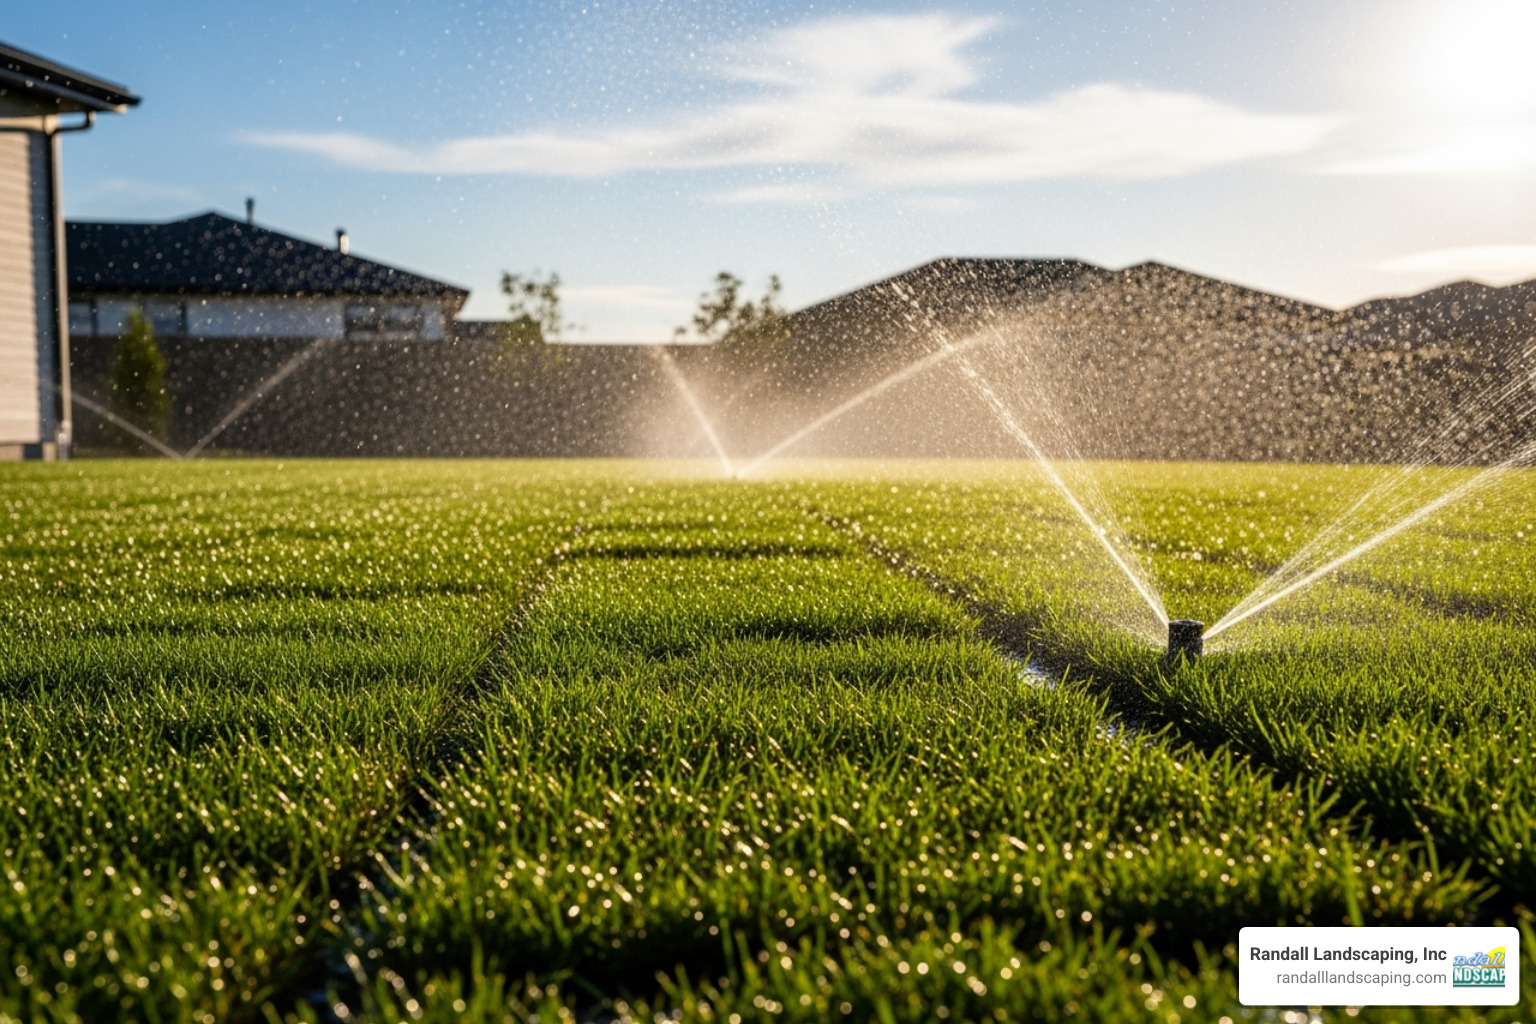
Watering is the most important factor for new sod. Get this wrong, and even a perfect installation can fail.
- Initial Soaking: Immediately after installation, soak the lawn thoroughly until the sod and the top 3-4 inches of soil beneath it are saturated. You should see small puddles forming.
- First Two Weeks: Water frequently to keep the sod constantly moist. This may mean watering 3-5 times a day for 10-15 minutes, especially in hot weather. The goal is to prevent the sod from ever drying out.
- Weeks 3-4 and Beyond: As roots begin to establish (check by gently tugging a corner), you can reduce watering frequency. Switch to deep watering every other day, then every third day. This encourages roots to grow deeper, creating a more drought-tolerant lawn. Aim for about one inch of water per week, applied early in the morning.
When to Walk On and Mow Your New Sod
Patience is key. Your new green carpet isn’t ready for heavy use right away.
- Foot Traffic: Avoid all foot traffic for the first week. Keep traffic to a minimum for the first 2-4 weeks to allow the delicate roots to bond with the soil.
- First Mow: Before mowing, do a “gentle tug test.” If a corner of the sod resists being lifted, it’s ready. This is typically 2-3 weeks after installation. For the first mow, set your mower to its highest setting (around 2-3 inches) and never cut more than one-third of the grass blade’s length. Use a sharp blade to ensure a clean cut.
Fertilizing for Strong Root Establishment
Your new sod needs the right nutrients to develop strong, deep roots. Fertilizing for strong root establishment is a crucial step for the long-term success of your sodding lawn project.
At Randall Landscaping, we always include proper fertilization when Laying Garden Turf. It’s about building a foundation for a healthy lawn.
Starter fertilizer is essential for new sod. Look for a product with a high middle number (P for phosphorus) in the N-P-K ratio, as phosphorus is vital for root development. Milorganite is an excellent choice for its phosphorus content and slow-release nitrogen.
Apply your first round of starter fertilizer during soil preparation, working it into the top few inches of soil. This ensures nutrients are available as soon as the roots start to grow. Apply a second feeding about 3-4 weeks after installation to give the growing roots another boost.
Key Factors for a Successful Sodding Lawn Project
- Follow Application Rates: More is not better. Too much fertilizer can burn new sod. Always follow the product instructions.
- Water and Soil Synergy: Fertilizer works best in well-prepared soil with a consistent watering schedule. These three elements—soil, water, and nutrients—must work together.
- Positive Cycle: Proper fertilization creates a positive feedback loop. Strong roots lead to healthier grass that naturally crowds out weeds and requires less water over time, turning your sodding lawn into a long-term asset.
Frequently Asked Questions about Sodding a Lawn
Over nearly two decades of sodding lawns in Massachusetts and New Hampshire, we’ve answered thousands of questions. Here are the most common ones, with straightforward answers.
How much does sodding a lawn cost?
This is a common first question. A sodding lawn project is an investment, and costs can vary.
Note: These are average costs based on internet data and not actual costs for Randall Landscaping. Actual pricing may vary depending on your specific project.
- Material Costs: Sod itself typically ranges from $0.80 to $2.50+ per square foot, depending on the grass type and quantity.
- Professional Installation: Hiring a company usually costs between $1.50 to $5.00+ per square foot, covering all labor from prep to installation.
For a 1,000-square-foot yard, a DIY project might cost $800 to $2,500 for materials, while professional installation could range from $2,300 to $7,500 or more. Factors like slopes, complex yard shapes, and poor soil conditions will affect the final price. The best approach is to get a detailed quote for your specific property.
What is the best time of year to lay sod?
One of sod’s biggest advantages is its flexible installation window. Unlike seeding, which has a narrow timeframe, sod can be installed throughout the growing season.
- Spring and early fall are ideal. Mild temperatures and seasonal rain create perfect conditions for root establishment with minimal stress on the grass.
- Summer installation is also possible but requires more diligent watering to combat heat stress.
In New England, we successfully install sod from late March through October. The key is adapting your aftercare to the season.
How long does it take for sod to root?
Most sod takes 2 to 6 weeks to fully establish a strong bond with your soil. You’ll see initial progress much sooner.
Within the first two weeks, you should notice small white roots beginning to grow. You can check this with a gentle tug test on a corner of the sod. If it resists, it’s starting to root.
Full establishment, when the lawn is ready for regular use, depends on several factors. Well-prepared soil, proper watering, and favorable weather will speed up the process, while poor conditions can slow it down. Patience during this period is rewarded with a stronger, more resilient lawn.
Get a Perfect Lawn Instantly with Professional Sod Installation
Sodding a lawn can transform your outdoor space from patchy to lush in a single day. It’s one of the most satisfying home improvement projects, offering an instant visual upgrade.
Beyond aesthetics, sod provides immediate erosion control—a valuable benefit on sloped properties or in New England’s rainy climate. It also gives you a usable lawn much faster than seeding.
However, long-term success depends on proper technique. The soil preparation and installation methods we’ve covered are the foundation for a lawn that thrives for years. Professional installation brings expertise and reliability that ensures the job is done right. At Randall Landscaping, we’ve been perfecting our sodding lawn techniques since 2006, serving homeowners throughout the Merrimack Valley and Southern New Hampshire.
Our team understands the nuances of our local climate and soil, and we stand by our commitment to quality work and 100% reliability. If you’re ready for an instantly beautiful yard, we can help.
Ready to transform your landscape? Find more about our Professional Sod Installation Near Me services and let us bring your vision to life.