Your Ultimate Guide to a Greener Garden
A garden sprinkler system installation automates your lawn care, delivering consistent, professional results. Here’s what you need to know to get started:
Essential Installation Steps:
- Plan your system – Map your property and determine water pressure/flow rates
- Dig trenches – Create 6–12-inch-deep channels for pipes
- Install valve manifold – Connect zone valves and backflow preventer to water supply
- Lay pipes – Use PVC or polyethylene piping to connect zones
- Connect sprinkler heads – Install pop-up or rotary heads with proper spacing
- Program controller – Set up automated watering schedules
DIY installation can save homeowners 30–50 % compared to professional installation, with average costs for a basic two-zone system ranging from $1,000 to $4,000. These figures are wide-range averages pulled from publicly available internet data and are not quotes from Randall Landscaping. Professional installations generally cost $2,000 to $8,000 or more for most residential properties, again based on internet averages and not Randall Landscaping pricing.
Beyond cost savings, an automatic system can reduce water usage by 30–50 % compared to manual methods, promoting a healthier lawn through consistent watering. This boosts your home’s curb appeal and property value.
Installing a sprinkler system is surprisingly straightforward, though it requires planning and physical effort. The key is understanding your water capacity, choosing the right components, and following proper installation techniques.
I’m Tommy Randall, owner of Randall Landscaping Business. Since 2006, I’ve helped homeowners across Massachusetts and New Hampshire with garden sprinkler system installation projects, seeing how proper irrigation transforms properties and simplifies lawn care.
 with coverage patterns illustrated, and water flow direction indicators throughout the system - garden sprinkler system installation infographic infographic-line-5-steps-blues-accent_colors")
Before You Dig: Planning Your Sprinkler System
Proper planning is the most critical step for a successful garden sprinkler system installation. A smart plan saves time and money, ensuring your system waters every corner efficiently and complies with local codes.

Understanding Your System’s Needs
Before selecting components, you must determine your home’s water pressure and flow rate.
Water Pressure (PSI): This is the force of water from your pipes, typically between 40-70 PSI. To measure it, attach a pressure gauge to an outdoor faucet with all other water in your home turned off. High pressure may require a regulator, while low pressure limits spray distance.
Water Flow Rate (GPM): This measures the volume of water available, in Gallons Per Minute (GPM). To measure it, time how long it takes to fill a 5-gallon bucket from an outdoor spigot. The formula is: (5 / time in seconds) * 60 = GPM. Most systems need at least 6 GPM.
These numbers determine how many sprinkler heads can run on a single zone and which types will work best. Insufficient pressure or flow results in poor performance and dry spots. You’ll work with dynamic pressure (water flowing), which is always lower than static pressure (water off) due to friction.
For an idea of the costs involved, you can explore average prices on our page about the Average Cost of Inground Sprinkler System. These are general averages based on internet data, not a specific quote for Randall Landscaping services.
Choosing Your Sprinkler System Type
Match the right sprinkler head to each area of your yard for the best results and efficiency.
| System Type | Coverage | Water Usage | Best For | Maintenance |
|---|---|---|---|---|
| Pop-up Spray | Short to medium (approx. 10 ft spray) | High (fast application) | Small, irregularly shaped lawns, shrub beds, edges | Moderate (clogging, adjusting) |
| Rotary | Medium to long (25-30 ft diameter, up to 32 ft) | Moderate (slower, more controlled) | Large, open lawn areas | Low (less prone to clogging) |
| Drip | Targeted (individual plants) | Very Low (direct to root zone) | Flower beds, gardens, trees, potted plants | Low (periodic flushing, checking emitters) |
- Pop-up Spray Heads: Ideal for smaller, dense areas. They pop up to spray about 10 feet and retract when off, staying out of sight.
- Rotary Heads: Best for large, open lawns. They rotate to cover a 25-32 foot diameter, applying water slowly to prevent runoff on slopes. Space them 14-18 feet apart for optimal coverage.
- Drip Lines: The most efficient option for flower beds, gardens, and trees. Drip irrigation delivers water directly to the roots, minimizing waste from evaporation or runoff.
- Bubblers: Deliver a gentle, bubbling flow of water, ideal for shrubs or small beds where you want to avoid wetting foliage.
It’s best to keep similar types of sprinkler heads together in one zone to maintain system efficiency.
Mapping Your Property and Creating Zones
Now it’s time to map your property. Grab graph paper, a pencil, and a measuring tape to architect your system.
First, sketch your property to scale, including the house, driveway, patios, trees, gardens, and any slopes. Note areas of sun and shade. Next, mark your water source, which is usually an outdoor spigot or where the main water line enters your home.
Then, plan sprinkler head placement using the “head-to-head coverage” principle. This means the spray from one head must reach the next, ensuring even watering with no dry spots. For a 15-foot spray, place heads no more than 15 feet apart.
Finally, divide the system into zones based on your water capacity (PSI and GPM). Each zone gets its own control valve, allowing you to water different areas (e.g., sunny lawn vs. shady garden) separately. This customizes watering, saves water, and prevents overwatering.
For a deeper dive into designing your system, check out our guide on Garden Water Irrigation System Installation.
Gathering Your Tools and Materials
Gathering all tools and materials before you start is key to a smooth garden sprinkler system installation.
Here’s a list of what you’ll typically need:
- Trenching shovel or a rented trencher for larger yards
- PVC pipe cutter or polyethylene tubing cutter
- Pipes: Rigid PVC or flexible Polyethylene (Poly), which is better for cold climates
- Fittings: Tees, elbows, and couplings to connect pipes
- Sprinkler heads: Pop-up, rotary, or drip emitters as planned
- Valve manifold and sprinkler controller/timer
- Backflow preventer (often required by local codes)
- PVC primer and cement (for PVC) or barb fittings and clamps (for poly pipe)
- Wire strippers and waterproof wire connectors
- Measuring tape, flags or marking paint
- Shovel, spade, and utility knife
- Gloves and safety goggles
For more detailed insights on parts and tools, you can check out More information on installing your own system.
The Complete Guide to Garden Sprinkler System Installation
Now it’s time to turn your plan into a working system. This is where your garden sprinkler system installation becomes a reality. But first, a critical safety step.
Always call 811 to have underground utility lines marked before you dig! This free service protects you from dangerous and expensive accidents involving gas lines, electrical cables, and communication wires. You’ll also need to know where your own service lines run from the meter to your house.

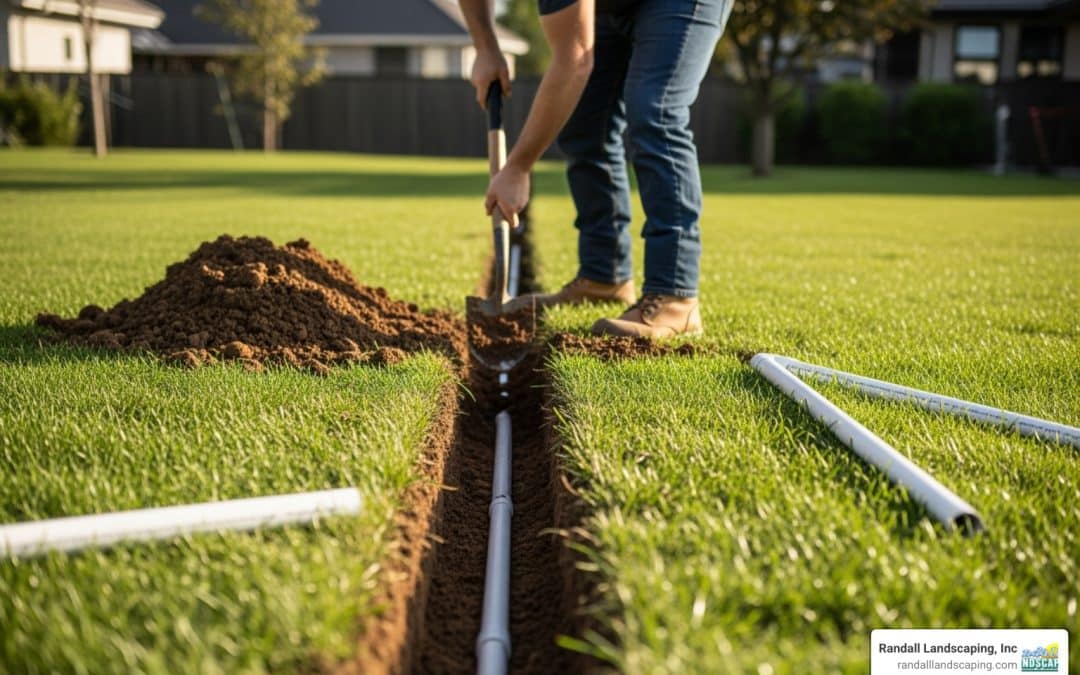
Step 1: Digging the Trenches
This is the most physically demanding part of the project, but it’s manageable with the right approach.
Dig trenches 6 to 12 inches deep, depending on your local frost line; 6-8 inches is typical. For trenching methods, a trenching shovel works for small yards, but renting a power trencher is a huge time-saver for larger areas.
Follow your layout plan by marking trench lines with string or paint before you start. To get under walkways, tunnel using water pressure. Attach a jet spray nozzle to a PVC pipe and a hose, then bore through the soil from trenches on either side.
Pro tip: Keep sod intact by cutting it into strips and placing it on tarps, separate from the excavated soil. This makes for a cleaner reinstallation and helps your lawn recover quickly.
Step 2: Assembling the Valve Manifold and Pipes
The valve manifold is the system’s command center, directing water to each zone.
Dig a hole for your valve box (about 18 inches deep) and line the bottom with 2 inches of gravel for drainage. It’s easiest to assemble the manifold above ground first.
Connecting your pipes varies by type. For PVC connections, apply primer and then cement to both the pipe and fitting. Insert the pipe with a quarter turn to spread the cement and hold it briefly. Wear gloves and safety goggles. For polyethylene pipe, slide a clamp over the pipe, insert the barb fitting, and tighten the clamp. Use stainless steel crimp rings for a more reliable connection.
When laying pipes in trenches, ensure they lie flat without kinks. Use tee connectors for branches and 90-degree elbows for turns.
If this feels overwhelming, professional services can handle these connections. Learn more about our Professional Sprinkler System options.
Step 3: Connecting to the Water Supply
This step involves tapping into your main water line. Proceed carefully.
Shut off your main water supply and drain the lines. Cut into the main line to splice in a tee fitting (soldering for copper, cement for PVC). A direct connection is better than using an outdoor faucet for optimal pressure and flow.
Installing the backflow preventer is non-negotiable. This device prevents contaminated lawn water (from fertilizers, pesticides, etc.) from flowing back into your drinking water, protecting public health. Local plumbing codes vary, so always check with your local building department to ensure compliance and see if professional installation is required for this component.
Once installed, connect your main line to the valve manifold.
Step 4: Installing Sprinkler Heads and Flushing the System
This step brings your system to life.
Connect sprinkler heads to your pipes using flexible swing joints, which prevent breakage and make height adjustments easier. Attach these to tee fittings in your lateral lines.
Crucial step: Flush each zone before attaching nozzles. Manually activate each zone to blast out dirt and debris from installation. Skipping this will clog your new nozzles.
After flushing, turn off the water and attach the appropriate nozzles. Turn the system back on, one zone at a time, and adjust the spray patterns (most are 40-360 degrees) and distance for proper head-to-head coverage, avoiding sidewalks and driveways.
For additional technical details, you can View detailed installation notes.
Final Touches and Long-Term Maintenance
Now it’s time to automate your watering routine and set your system up for years of reliable service.

Step 5: Programming the Controller and Testing
The sprinkler controller is the brain of your system, automating your watering schedule.
Connect zone wires to the controller: Join one wire from each valve to a common wire (usually white). Connect the other wire from each valve to its specific zone terminal (Zone 1, Zone 2, etc.), following the controller’s instructions.
Next, set up your watering schedules, programming when, how long, and how often each zone runs based on sun exposure and soil type.
Then, run a full system test. Activate each zone and walk your property to check for leaks and ensure proper coverage. Make sure you are only watering the lawn, not sidewalks or your house. Make any final adjustments to spray patterns.
After testing, backfill the trenches. Tamp down the soil every few inches to prevent sinking. Replace the sod you saved and water it well.
System Maintenance and Winterization
Ongoing care will ensure your garden sprinkler system installation lasts for years.
- Make seasonal adjustments to your watering schedule. Smart controllers can do this automatically based on weather forecasts.
- Clean nozzles and filters periodically to clear clogs and maintain proper spray patterns.
- Check for leaks by looking for soggy spots in the lawn or an unusually high water bill.
In regions with freezing temperatures like Merrimack Valley and Southern New Hampshire, winterization is crucial. To prevent pipes from bursting, you must remove all water. The best method is to “blow out” the system using an air compressor (50-100 PSI). Shut off the water, connect the compressor, and push air through each zone until it runs dry. Protect exposed pipes and the backflow preventer from the cold.
In the spring, perform start-up procedures by slowly turning the water back on, checking for leaks, and testing each zone.
Troubleshooting Common Sprinkler Problems
Most common sprinkler problems are easy to fix.
- Clogged Head: Poor spray pattern. Turn off the system, remove the head, and clean the nozzle and filter.
- Leaky Valves: Water pooling near the valve box. Could be debris or a worn seal. Try flushing the valve; otherwise, it may need repair or replacement.
- Low Pressure: If in one zone, check its valve for issues. If in all zones, check your main water supply, shut-off valve, or look for a main line leak.
- Controller Issues: Sprinklers not turning on/off correctly. Check the power, programming, and wiring connections.
- Broken Pipe: A gush of water or a very soggy spot. Locate the break, turn off the water, and replace the damaged section.
Frequently Asked Questions about Sprinkler Installation
We often hear similar questions from homeowners considering a garden sprinkler system installation. Here are some of the most common things people ask:
How much does a DIY garden sprinkler system installation cost?
A DIY garden sprinkler system installation can save money, but costs vary based on yard size, complexity, and parts.
Based on general internet data, DIY costs for a multi-zone system typically range from $1,000 to $4,000. Please note these are online averages, not quotes from Randall Landscaping.
Professional installation, including design, labor, and materials, typically starts at $2,000 to $4,000 for residential properties. Large or complex projects can exceed $10,000. DIY saves money but requires significant time and physical effort.
For a deeper dive into potential costs, take a look at our guide on Underground Water Sprinkler System Cost.
What is a backflow preventer and is it required?
A backflow preventer is a critical safety device for your garden sprinkler system installation. It acts as a one-way gate, stopping irrigation water (which may contain fertilizers or pesticides) from flowing back into your home’s clean drinking water.
Yes, a backflow preventer is almost universally required by local plumbing codes. This is a public health measure to protect the municipal water supply from contamination. Always check with your local building department for specific requirements.
What are the most common mistakes to avoid during installation?
Here are the most common mistakes to avoid during your garden sprinkler system installation:
- Improper Planning: Failing to accurately measure water pressure and flow or create a detailed layout leads to dry spots and wasted water. Plan carefully before you dig.
- Incorrect Head Spacing: Not using “head-to-head coverage,” where each sprinkler’s spray reaches the next, will result in uneven watering and dry patches.
- Forgetting to Flush the System: Always flush each zone to clear out debris from installation before attaching nozzles. This prevents immediate clogs.
- Digging into Utility Lines: This is a dangerous and expensive mistake. Always call 811 to have underground utility lines marked before you dig. It’s a free and essential safety step.
- Mismatched Components: Ensure your sprinkler heads and other parts are compatible with your home’s water pressure and flow rate to avoid poor performance or water waste.
Achieve a Flawless Lawn with Expert Help
A garden sprinkler system installation is a great investment in convenience, water savings, and a beautiful lawn. Completing a DIY project of this scale is a rewarding achievement.
However, the process can be overwhelming, especially for complex landscapes with unique needs. If you’re in Merrimack Valley and Southern New Hampshire (including communities like Methuen, Lawrence, Plaistow, and Windham), Randall Landscaping, Inc. is here to help.
We pride ourselves on quality work and 100% reliability, ensuring customer satisfaction. Our expert team can design and install a water-efficient sprinkler system customized to your property’s needs, guaranteeing a flawless, lush lawn without the hassle.
Ready to transform your outdoor space? Contact us today to discuss your new lawn installation!