Why Installing Your Own Garden Irrigation System Makes Perfect Sense
Garden water irrigation system installation doesn’t have to break the bank or require a plumbing degree. With the right planning and basic tools, most homeowners can set up an efficient watering system in a weekend.
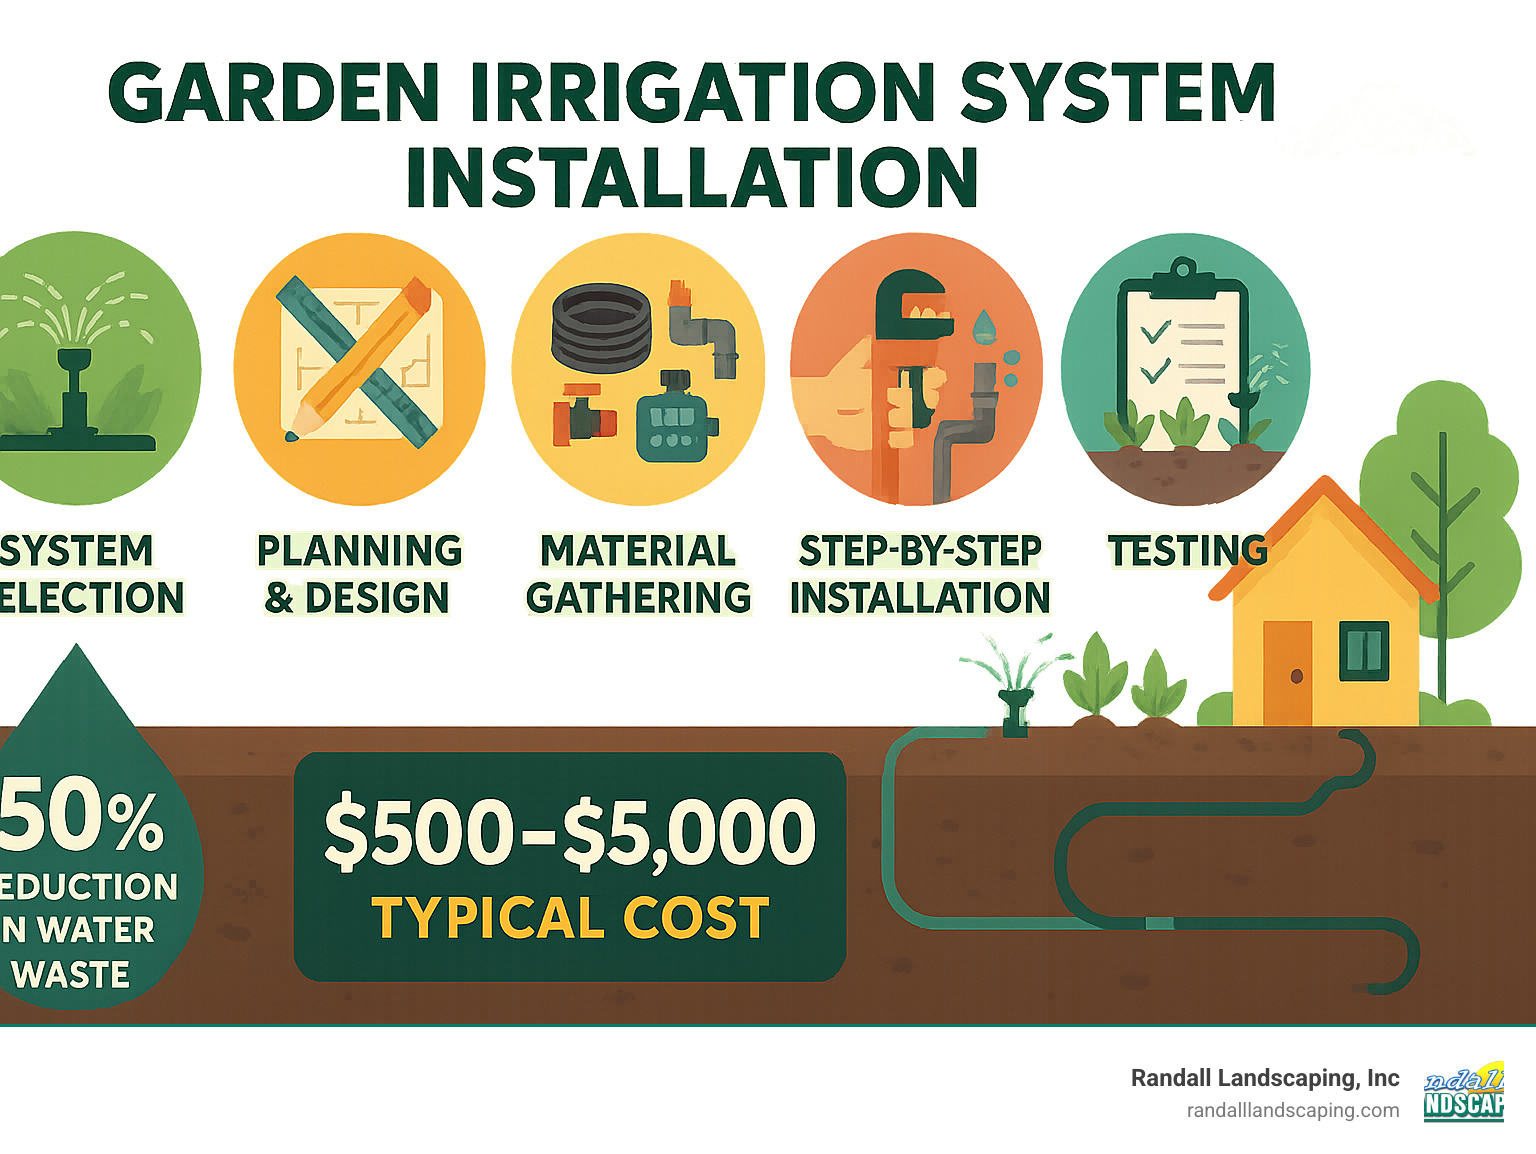
Quick Overview – Garden Water Irrigation System Installation:
- Choose your system type – Drip irrigation (best for gardens), soaker hoses (simplest), or in-ground sprinklers (lawns)
- Plan your layout – Sketch your yard, group plants by water needs, calculate water pressure
- Gather materials – Tubing, connectors, timer, pressure regulator, backflow preventer
- Install step-by-step – Run main lines, connect zones, test for leaks, program timer
- Test and adjust – Check coverage, fix any issues, set watering schedule
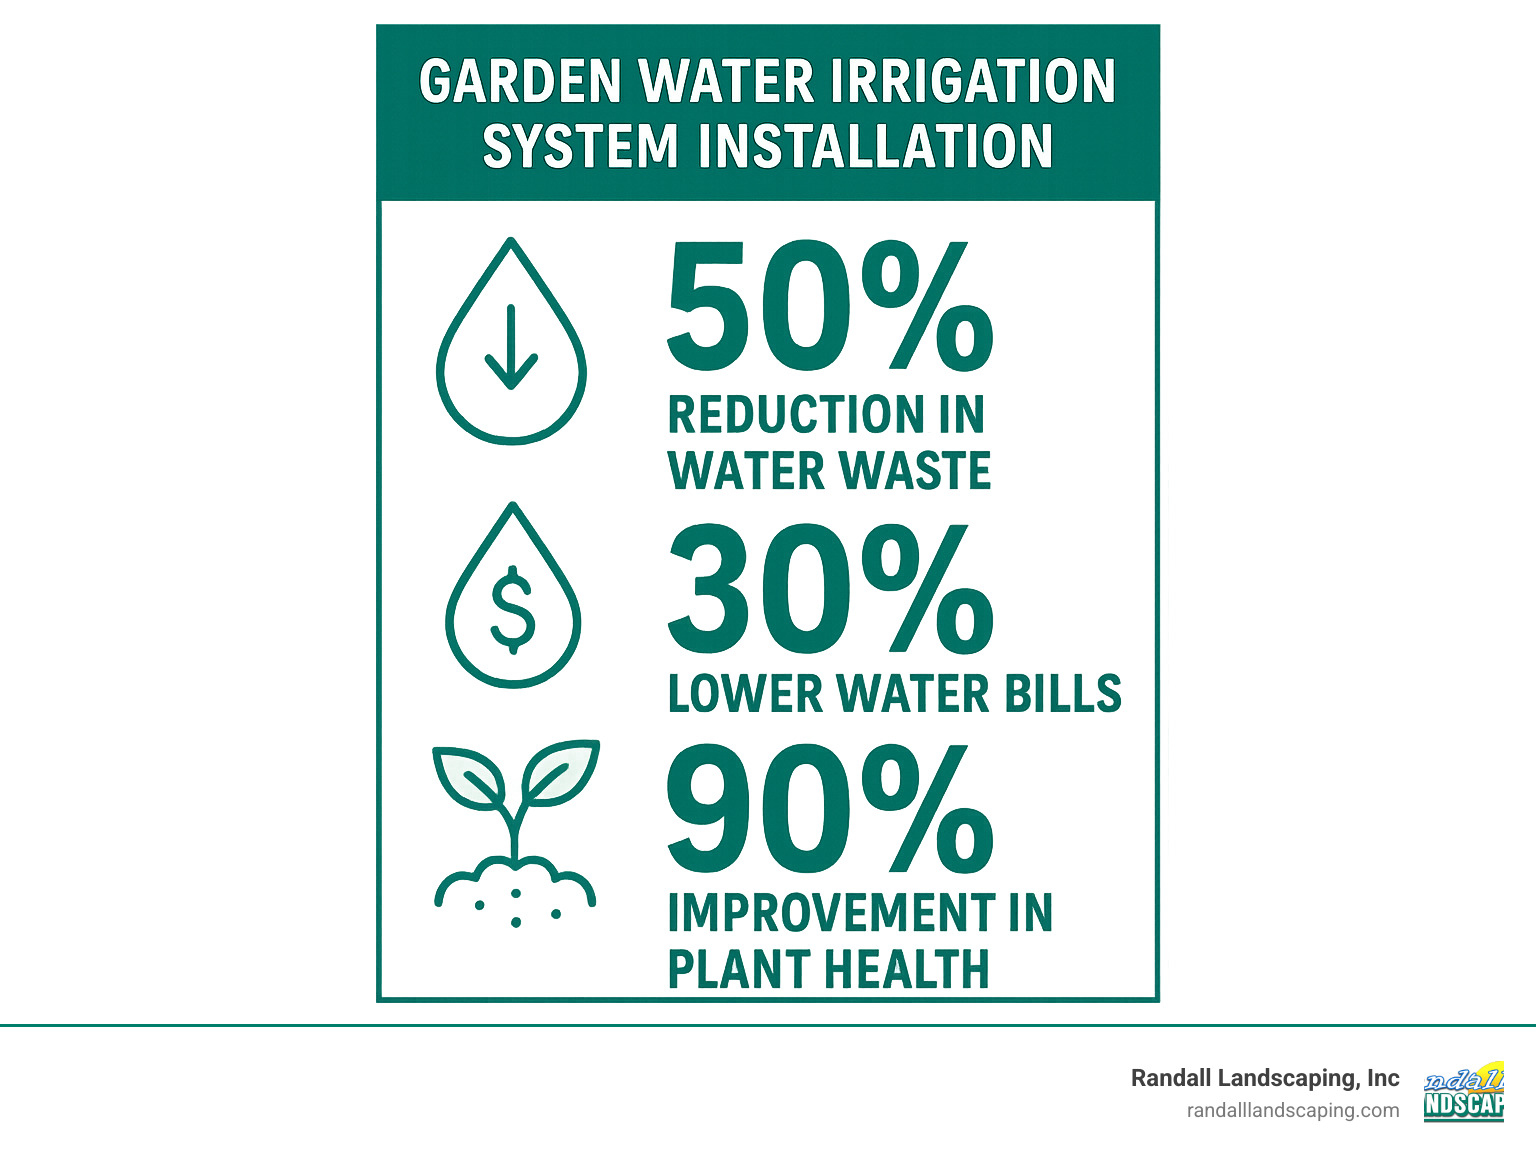
Residential outdoor water use accounts for nearly 9 billion gallons daily in the US, with up to 50% wasted through inefficient watering methods. A properly installed irrigation system can cut your water bill while keeping plants healthier.
DIY installations typically cost $500-$1,500 for basic setups, while professional installations range from $2,000-$5,000+ (based on internet averages, not Randall Landscaping rates). Most kitchen garden plants need about 1 inch of water per week, and a smart controller can save hundreds of gallons daily.
I’m Tommy Randall, owner of Randall Landscaping Business, and I’ve been helping Southern New Hampshire homeowners with garden water irrigation system installation and landscape solutions since 2006. Whether you’re tackling this as a DIY project or need professional guidance, I’ll walk you through everything you need to know.
Explore more about garden water irrigation system installation:
– professional sod installation
– professional sprinkler installation
– professional sprinkler system installation
Garden Water Irrigation System Installation: Choosing the Right Method
Picking the right irrigation system is like choosing the perfect tool for a job – get it right, and everything flows smoothly. After helping hundreds of homeowners across Merrimack Valley and Southern New Hampshire with their garden water irrigation system installation projects, I’ve learned that the “best” system matches your specific needs.
| System Type | Best For | Water Efficiency | Installation Difficulty | Cost Range |
|---|---|---|---|---|
| Drip Irrigation | Vegetable gardens, flower beds, containers | Highest (90-95% efficient) | Moderate | $300-$800 |
| Soaker Hose | Small gardens, raised beds | Good (80-85% efficient) | Easy | $100-$300 |
| In-Ground Sprinkler | Large lawns, established landscapes | Moderate (70-80% efficient) | Advanced | $1,000-$3,000+ |
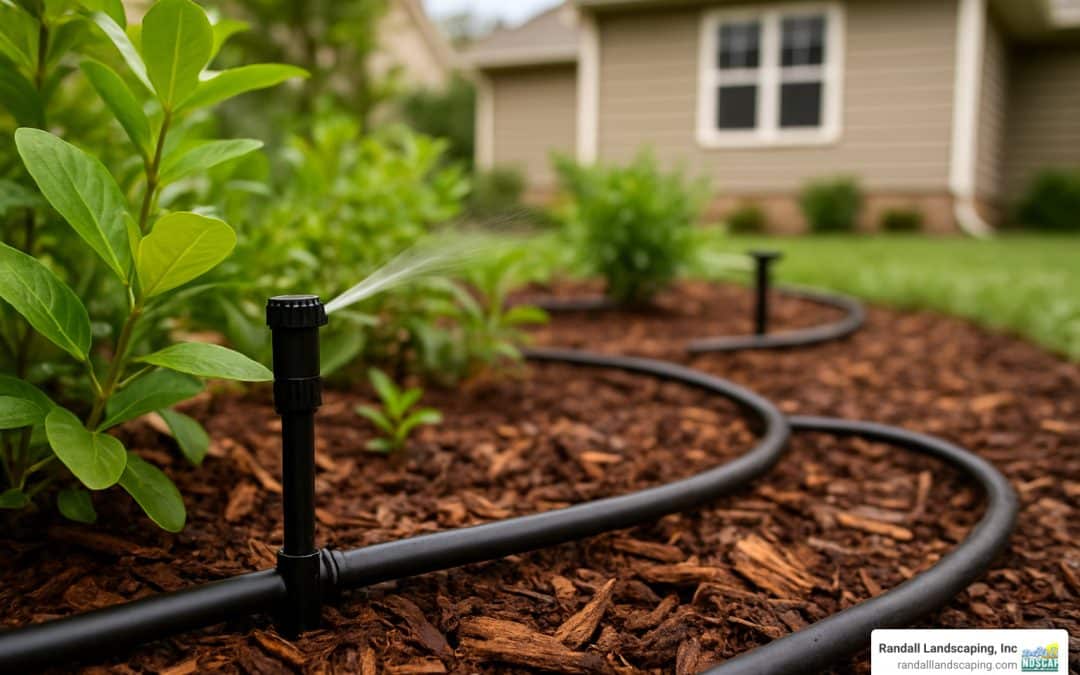
Drip Irrigation Basics
Drip irrigation is like having a personal water butler for each plant. This system delivers water slowly and directly to plant roots, reducing water waste by up to 50% compared to traditional sprinklers.
The system works through three key components: Emitters control exactly how much water each plant gets, typically delivering 0.5 to 4 gallons per hour. Pressure regulators take your household water pressure (usually 40-80 PSI) and bring it down to the gentle 15-25 PSI range that drip systems prefer. Filters prevent debris from clogging those tiny emitters, saving you from blocked water flow later.
The real beauty lies in precision – you can place emitters exactly where plants need water, adjusting flow rates based on each plant’s thirst level.
Soaker Hose Simplicity
Soaker hoses are the friendly neighbor of irrigation systems – easy to get along with and they get the job done without fuss. These porous tubes literally “weep” water along their entire length, making them perfect for raised bed vegetable gardens, foundation plantings, and narrow flower borders.
Installation couldn’t be simpler – just lay the hose where you need water and connect it to a timer. They work best in runs under 100 feet, and you’ll need to replace them every 3-5 years as the porous material breaks down.
In-Ground Sprinkler Overview
For larger properties with extensive lawn areas, in-ground sprinklers provide the coverage you need. Pop-up heads stay hidden underground until it’s time to work. The system uses rotors for larger areas with 25-50 foot coverage radius, and spray heads for smaller zones covering 8-15 feet.
The intelligence comes through multiple zones that let you control different areas separately. Your sunny front lawn might need different watering than shady flower beds, and proper zoning ensures each area gets exactly what it needs.
Measure Twice, Dig Once: Planning & Design
That old carpenter’s saying about measuring twice and cutting once applies perfectly to garden water irrigation system installation. After nearly two decades in the landscaping business, I can tell you that projects that fail usually skip this crucial planning phase.
Start with a simple site sketch – grab graph paper and draw your property to scale. One inch equals ten feet works perfectly for most residential lots. Walk around your yard and mark everything: existing plants, full sun areas, where water pools after rain, and any slopes.
Group your plants by their water needs. Your drought-loving lavender doesn’t belong on the same watering schedule as thirsty tomatoes. Vegetables typically need daily watering during growing season, while established shrubs might only need deep soaking twice weekly.
Soil type matters more than most people realize. Sandy soil drains quickly, so you’ll need shorter, more frequent watering cycles. Clay soil holds water longer, so longer, less frequent watering prevents soggy roots and runoff.
Consider your local climate zone and rainfall patterns. Here in Southern New Hampshire, we get decent spring and fall rainfall, but summer dry spells can stress plants quickly. Your irrigation system should supplement natural rainfall, not fight against it.
Finally, assess your water source – you need to know both your water pressure (PSI) and flow rate (GPM) before buying any components.
For complex landscape planning that integrates irrigation with overall design, our Landscape Design & Installation services can help ensure everything works together seamlessly.
Calculating Pressure & Flow
Testing water pressure requires a simple pressure gauge from any hardware store. Attach it to an outdoor faucet, turn off all other water sources in your house, then turn on the test faucet fully. The gauge shows your static pressure – typically 40-80 PSI for most homes. You need working pressure – what you get when water is actually flowing, usually 10-15 PSI lower.
The bucket test tells you your flow rate. Grab a 5-gallon bucket and stopwatch. Time how long it takes to fill the bucket, then calculate: (5 gallons ÷ time in seconds) × 60 = GPM. Most residential systems deliver 8-15 GPM.
Don’t forget friction loss – water pressure drops as it travels through pipes. For every 100 feet of half-inch tubing, expect to lose about 5 PSI. The scientific research on urban water use provides detailed technical specifications for different system requirements.
Laying Out Irrigation Zones
Smart zoning separates good irrigation systems from great ones. Think of zones as neighborhoods where all plants have similar needs – same amount of water, at the same frequency, for the same duration.
Water requirements should be your primary grouping factor. Vegetable gardens might need 30 minutes daily during peak summer. Annual flower beds typically need watering every other day for 20 minutes. Established shrubs often do fine with twice-weekly deep watering for 45 minutes.
Sun exposure creates different microclimates. That south-facing slope bakes all day and dries out fast, while shaded areas stay moist much longer. Map each zone on your site sketch and calculate total GPM requirements for each.
If your water supply can’t handle all zones simultaneously, you’ll need to stagger watering times using your controller mapping. Modern irrigation controllers make this easy, running different zones in sequence.
Step-by-Step DIY Installation Guides
Here’s where planning becomes reality! After helping hundreds of homeowners through their first garden water irrigation system installation, I can tell you that success comes from taking your time and following a logical sequence.
Your Essential Tool Kit:
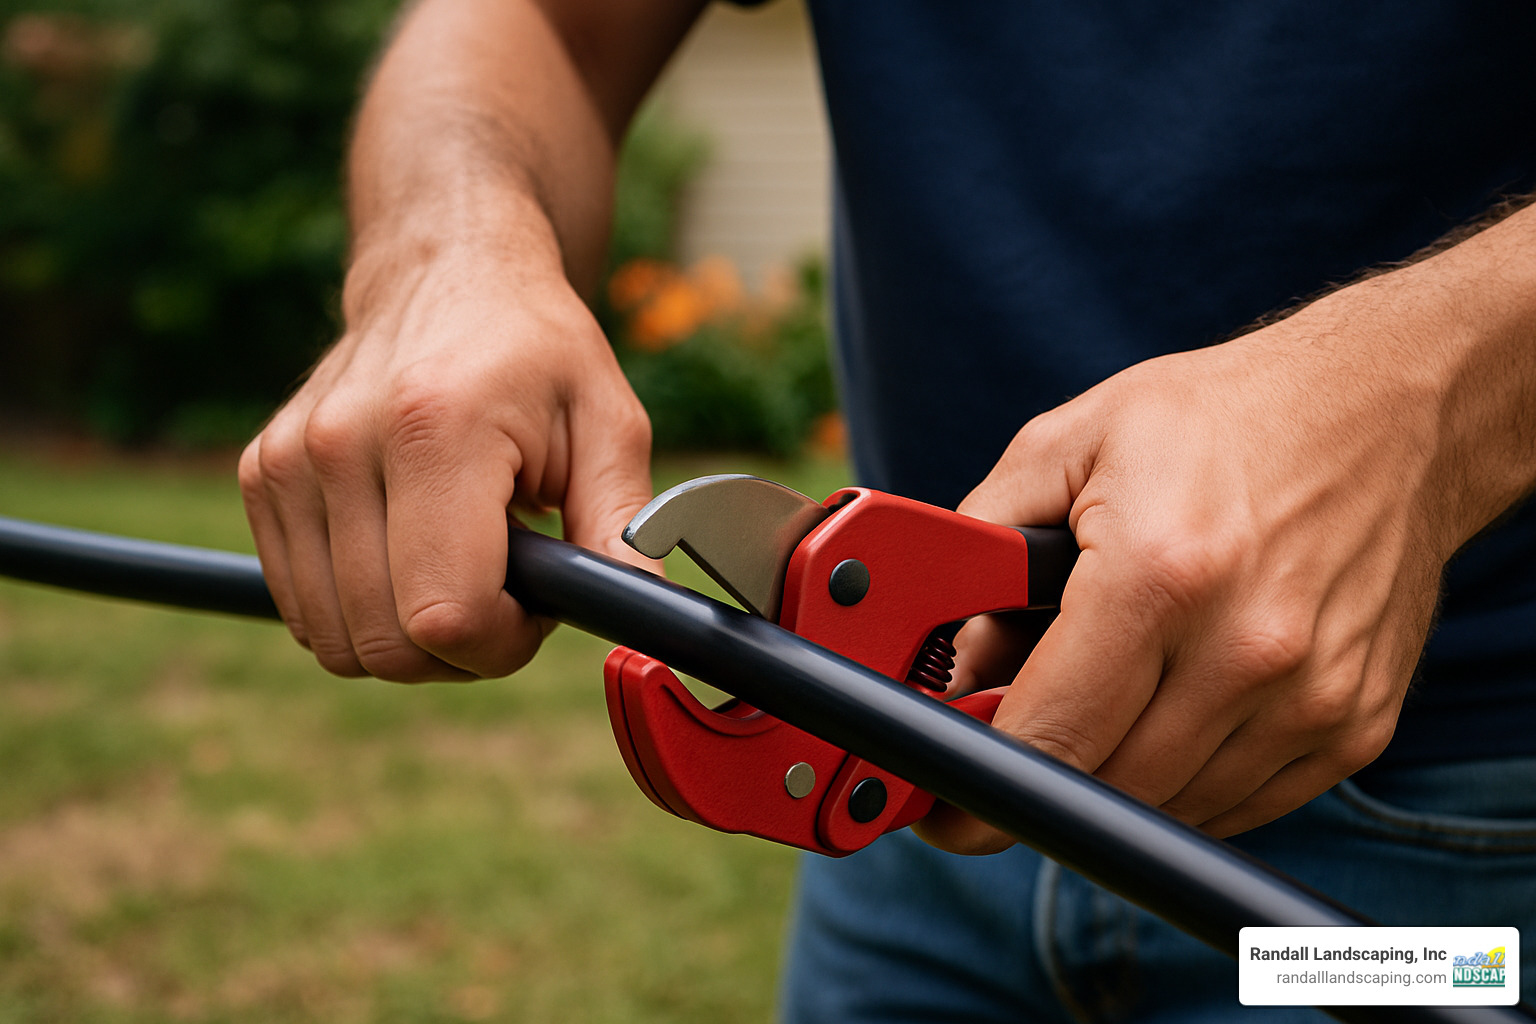
Before you start, gather the right tools. A trenching shovel will save your back, while proper pipe cutters are critical – never use a saw because it creates plastic shavings that clog emitters. You’ll also need a hole punch tool for drip systems, PVC primer and cement, wire strippers, and a pressure gauge.
The most important step: call 811 for utility locates. I’ve seen weekend projects turn into expensive disasters when someone hits a gas line. The service is free, required by law, and could literally save your life.
Installing a Drip System (Weekend Project)
Drip irrigation makes the perfect weekend project because it’s forgiving and doesn’t require deep trenching.
Friday evening: Roll out all tubing without making cuts – this lets you visualize the entire system. Leave poly tubing in the sun for a few hours; warm tubing is much easier to work with.
Saturday: Start with the backflow preventer – required by code in most areas. Connect your timer and pressure regulator. Most homes have 50+ PSI pressure, but drip systems work best at 15-25 PSI. Run main lines using 1/2-inch tubing, with 1/4-inch tubing branching to individual plants. Use barbed connectors secured with clamps.
Sunday: Use the proper hole punch tool for clean holes that seal tightly around emitters. Flush the entire system before installing emitters to clear debris. Test each emitter for proper flow and cover tubing with mulch for UV protection.
Installing an In-Ground Sprinkler System
In-ground sprinklers require more planning and physical work, but they’re manageable for experienced DIYers.
Start by marking everything with spray paint – all pipe runs, sprinkler locations, and valve positions. Plan for head-to-head coverage where each sprinkler overlaps neighbors by about 50%.
Trenching is the most demanding part. Standard depth is 6-8 inches, going deeper in high-traffic areas. Hand-dig within 18 inches of marked utilities, and consider renting a trenching machine for longer runs.
Install the valve manifold – your central control point. Choose an accessible but protected location, ideally in a valve box. Use Schedule 40 PVC pipe for durability, priming and cementing all joints carefully.
Connect sprinkler heads using swing pipe – flexible connectors that prevent damage from ground settling. Electrical connections require direct-burial wire running back to your timer location, using waterproof wire connectors with dielectric grease.
If you’re not comfortable with electrical work or complex layouts, our Professional Sprinkler Installation service ensures everything meets code requirements.
Smart Controller Add-Ons
Modern smart controllers transform basic irrigation into intelligent watering machines. These devices adjust schedules based on weather data, soil moisture sensors, and evapotranspiration data factoring temperature, humidity, and wind.
A properly configured smart controller can save hundreds of gallons daily. Look for Wi-Fi connectivity, weather integration, zone-by-zone customization, and water usage tracking.
For detailed efficiency studies, check out the Latest research on smart irrigation savings to see real-world data on water conservation.
Maintenance, Seasonal Care & Common Mistakes
Installing your garden water irrigation system installation is only half the battle. The real secret to long-term success lies in proper maintenance. After nearly two decades in landscaping, I’ve seen too many great systems fail simply because homeowners didn’t know how to care for them.
During growing season, plan on spending about 15 minutes monthly checking your system. Walk through each zone while running and look for problems. Are all emitters working? Any water pooling? Is that corner looking too dry or soggy?
Spring startup is crucial – flush all lines thoroughly after winter. Replace any cracked fittings or damaged tubing, and adjust timer programming for longer spring days.
Summer brings its own challenges. Your plants need more water during heat waves, but resist cranking up the timer. Instead, add an extra watering cycle rather than making each session longer.
Fall preparation often gets overlooked. Start reducing watering frequency as temperatures drop and plants enter dormancy. Clean filters and check all connections before winter.
Winter shutdown is absolutely critical in our climate. We’ve repaired countless systems destroyed by a single hard freeze. If you have water left in lines when temperatures drop below 32°F, you’re looking at potentially thousands in damage. Either drain all lines completely or blow them out with compressed air.
The biggest mistake? Overwatering. More plants die from too much water than too little. Your soil should dry out slightly between waterings – stick your finger into the dirt to check rather than guessing.
Poor pressure regulation is another system killer. Too much pressure blows out emitters and creates geysers. Too little means inadequate coverage. Check your pressure gauge monthly during growing season.
Troubleshooting Quick-Fix Chart
When things go wrong, most problems have simple solutions if you know what to look for.
Low water pressure: Check your filter first – a clogged filter is the most common culprit. Verify your pressure regulator is set correctly (15-25 PSI for drip systems, 30-50 PSI for sprinklers). Walk main lines looking for leaks.
Uneven watering: Clean clogged emitters or spray heads – a toothpick works great for drip emitters. Check that sprinkler heads haven’t shifted and still provide proper overlap. Look for kinked tubing.
System won’t turn on: Double-check timer programming and current time settings. Test controller’s manual operation. Check for tripped circuit breakers, especially after storms.
Water waste and runoff: Reduce watering duration but increase frequency. Check for overspray hitting driveways. Make sure spray patterns match planted areas.
Costs, Permits & Safety
Let’s be honest about the money side – knowing what you’re getting into financially is just as important as choosing the right sprinkler head. After years of helping homeowners in the Merrimack Valley make these decisions, I’ve learned that sticker shock kills more irrigation projects than technical difficulties.
The DIY Route:
If you’re handy with basic tools, garden water irrigation system installation can be surprisingly affordable. A basic drip system for a 500 square foot vegetable garden typically runs $300-$800 in materials. Soaker hose setups are even friendlier at $100-$400 for most residential applications. In-ground sprinkler systems range from $1,000-$3,000 for basic residential systems, but can easily hit $5,000+ for larger properties. Add a smart controller upgrade for another $150-$500.
Professional Installation Reality Check:
Based on national averages (not our specific pricing), professional installations typically run $800-$2,500 for simple drip systems, while complete sprinkler systems range from $2,000-$8,000+. For larger properties with complex layouts, costs can stretch from $5,000 all the way up to $15,000+.
These wide ranges reflect real differences in property size, soil conditions, system complexity, and regional labor costs.
Permit Realities:
Good news – most residential irrigation systems fly under the permit radar. The exception is backflow prevention devices, which many municipalities require permits for since they connect directly to your home’s water supply.
Safety Isn’t Optional:
Always call 811 before any digging. It’s free, required by law, and could literally save your life. Other safety essentials include GFCI protection for all electrical connections, proper backflow prevention, and following manufacturer pressure ratings religiously.
The investment in a properly installed irrigation system typically pays for itself within 2-3 years through water savings and healthier plants. For ongoing care and professional maintenance, check out our Landscape Maintenance Services to keep everything running smoothly.
Frequently Asked Questions About Irrigation
After years of helping homeowners with garden water irrigation system installation across Southern New Hampshire, we get asked the same questions repeatedly. Here are the most common ones.
How long should each zone run?
This is probably the most important question, because getting timing wrong wastes water and can harm plants. The answer depends on your system type, soil, and plants.
For drip irrigation zones, plan on 30-60 minutes of runtime, 2-3 times per week. Drip systems apply water slowly, so they need longer run times. Spray head zones work best with 10-15 minute runs, 3-4 times per week. Rotor zones need 20-30 minutes, 2-3 times per week.
The key principle: apply about 1 inch of water per week total, including rainfall. Sandy soils need shorter, more frequent sessions. Clay soils benefit from deeper, less frequent watering.
Do I need a backflow preventer?
Yes, absolutely – and this isn’t optional. Backflow preventers are required by code in most areas and protect your family’s drinking water from contamination. Irrigation systems can suck up fertilizer, pesticides, or other chemicals from your yard. Without a backflow preventer, those contaminants could get pulled back into your drinking water supply.
A simple vacuum breaker costs under $50 and works fine for most residential systems. Install it right at your water source connection.
Can I connect to a rain barrel?
Absolutely! Rain barrels create a sustainable watering system that reduces both your water bill and environmental impact. However, rain barrels rely on gravity for pressure, typically providing only 5-10 PSI – nowhere near enough for most irrigation systems.
The solution is a small booster pump that can pressurize your rain barrel system. These pumps typically cost $200-$400 and can boost your system to 30+ PSI. Position your rain barrel on a platform 2-3 feet high for better gravity pressure, and make sure it has a good filter system to keep debris out of irrigation lines.
Conclusion
Garden water irrigation system installation transforms your relationship with your landscape. Instead of dragging hoses around every evening or watching plants struggle through dry spells, you’ll have a system that keeps everything perfectly watered while you focus on the fun parts of gardening.
After nearly two decades helping homeowners across Southern New Hampshire, I’ve seen the difference a good irrigation system makes. Your vegetable garden produces more, your flower beds stay vibrant longer, and you actually get to enjoy summer evenings instead of spending them watering.
The math works too. Most homeowners see their water bills drop by 20-30% once they stop overwatering with sprinklers and start delivering water precisely where plants need it. Garden water irrigation system installation pays for itself within 2-3 years through water savings alone.
Remember the fundamentals: proper planning prevents problems, quality components last longer than cheap ones, and regular maintenance keeps everything running smoothly. Take your time with the design phase, invest in a good pressure regulator and timer, and don’t skip seasonal maintenance tasks.
At Randall Landscaping, Inc., we’ve been creating efficient, beautiful landscapes since 2006. Our commitment to quality work and 100% reliability means we’re here whether you need design advice for your DIY project or want professional installation with full warranty coverage.
Some projects are perfect for ambitious DIYers, while others benefit from professional expertise. If trenching through ledge or wiring complex controllers feels overwhelming, that’s exactly why we offer Professional Sprinkler System Installation services throughout Merrimack Valley and Southern New Hampshire.
We serve homeowners in Amesbury, Andover, Atkinson, Boxford, Dracut, Georgetown, North Andover, North Reading, Pelham, Salem, Windham, Methuen, Lawrence, Plaistow, and surrounding communities. Every installation comes with our reliability guarantee because your satisfaction is our reputation.
The best irrigation system is the one that gets installed and used properly. Whether you tackle it yourself this weekend or call us for a consultation, your plants are ready for better care. Stop fighting with hoses and start enjoying your landscape the way it was meant to be enjoyed.