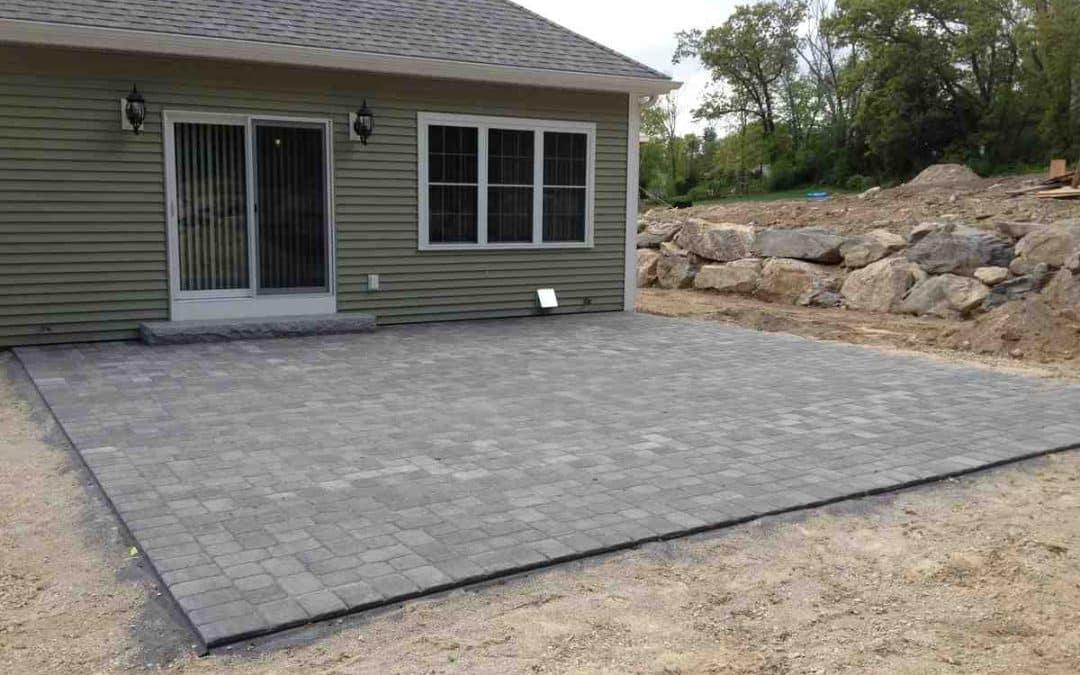
Paver patio install and design can transform ordinary backyards into inviting outdoor living spaces. These patios are crafted using individual paving stones that create durable and low-maintenance surfaces perfect for relaxation or entertaining. The process involves planning, sourcing materials like pavers and base layers, and precise installation techniques to ensure a beautiful and lasting result. If you’re curious about the essentials of creating a paver patio, here’s a quick overview of the basic steps:
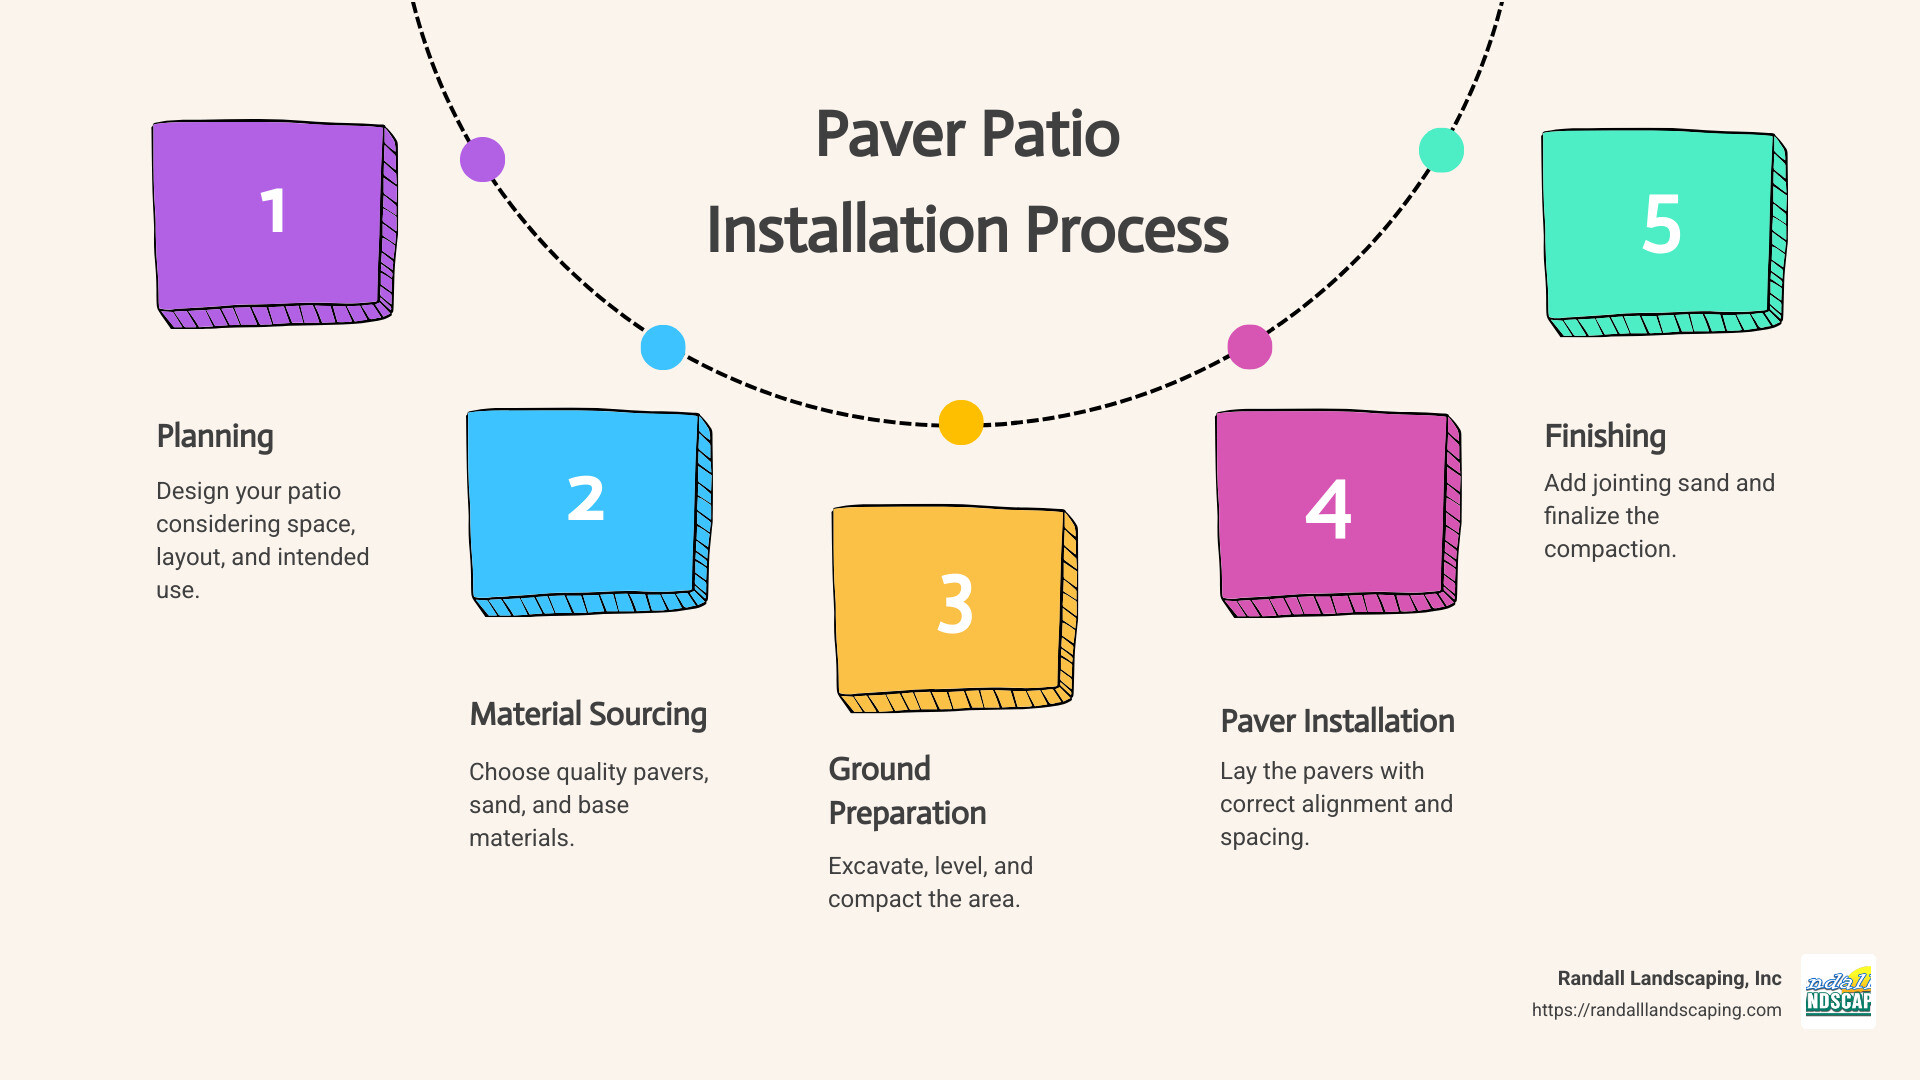
- Planning: Design your patio considering space, layout, and intended use.
- Material Sourcing: Choose quality pavers, sand, and base materials.
- Ground Preparation: Excavate, level, and compact the area.
- Paver Installation: Lay the pavers with correct alignment and spacing.
- Finishing: Add jointing sand and finalize the compaction.
I’m Tommy Randall, owner of Randall Landscaping, Inc., where I’ve been crafting paver patio install and design projects since 2006. With a passion for quality and a keen eye for outdoor aesthetics, my team and I strive to turn your landscape visions into reality. Transitioning from concept to creation ensures each project meets both functional and aesthetic goals in outdoor spaces.
Planning Your Paver Patio Design
Designing a paver patio starts with a vision. Whether you’re dreaming of a cozy nook for family gatherings or a large space for entertaining, the design should reflect your lifestyle and preferences. Start by sketching out your ideas, considering the size, shape, and location of your patio. Think about how the patio will integrate with your home’s architecture and existing landscape.
Choosing the Right Paver Patterns
The pattern you choose can dramatically affect the look and feel of your patio. Simple patterns like jack-on-jack or running bond are easy to install and offer a clean, classic appearance. If you’re looking for something more intricate, consider the herringbone or pinwheel patterns. These add a touch of elegance but require more precision and cutting.
- Jack-on-Jack: Straightforward and traditional, perfect for any setting.
- Running Bond: Offers a seamless look, ideal for creating a sense of continuity.
- Herringbone: Adds visual interest and is excellent for high-traffic areas.
- Pinwheel: Unique and eye-catching, great for a statement piece.
Considering Patio Features
Improve your paver patio with features that add functionality and beauty. Imagine a warm evening gathered around a fire pit, or cooking up a storm in an outdoor kitchen. These features not only lift your patio’s functionality but also increase its appeal.
- Fire Pits: A fire pit can be a focal point for gatherings. Ensure it’s built with fire-resistant materials for safety.
- Outdoor Kitchens: Perfect for those who love to entertain. Plan for space, utilities, and storage.
- Lighting: Extend your patio’s usability into the night with well-placed lighting. Choose fixtures that complement your patio’s style.
- Greenery: Incorporate plants and flowers to add a touch of nature. Use planters or garden beds to define spaces and add color.
By carefully planning your patio design and selecting the right patterns and features, you can create a space that is both functional and visually appealing. Each choice you make in the design phase will contribute to the overall success and enjoyment of your new outdoor living area.
Essential Tools and Materials for Paver Patio Installation
Installing a paver patio requires the right tools and materials to ensure a durable and aesthetically pleasing result. Let’s break down what you’ll need to get started.
Key Tools for Installation
-
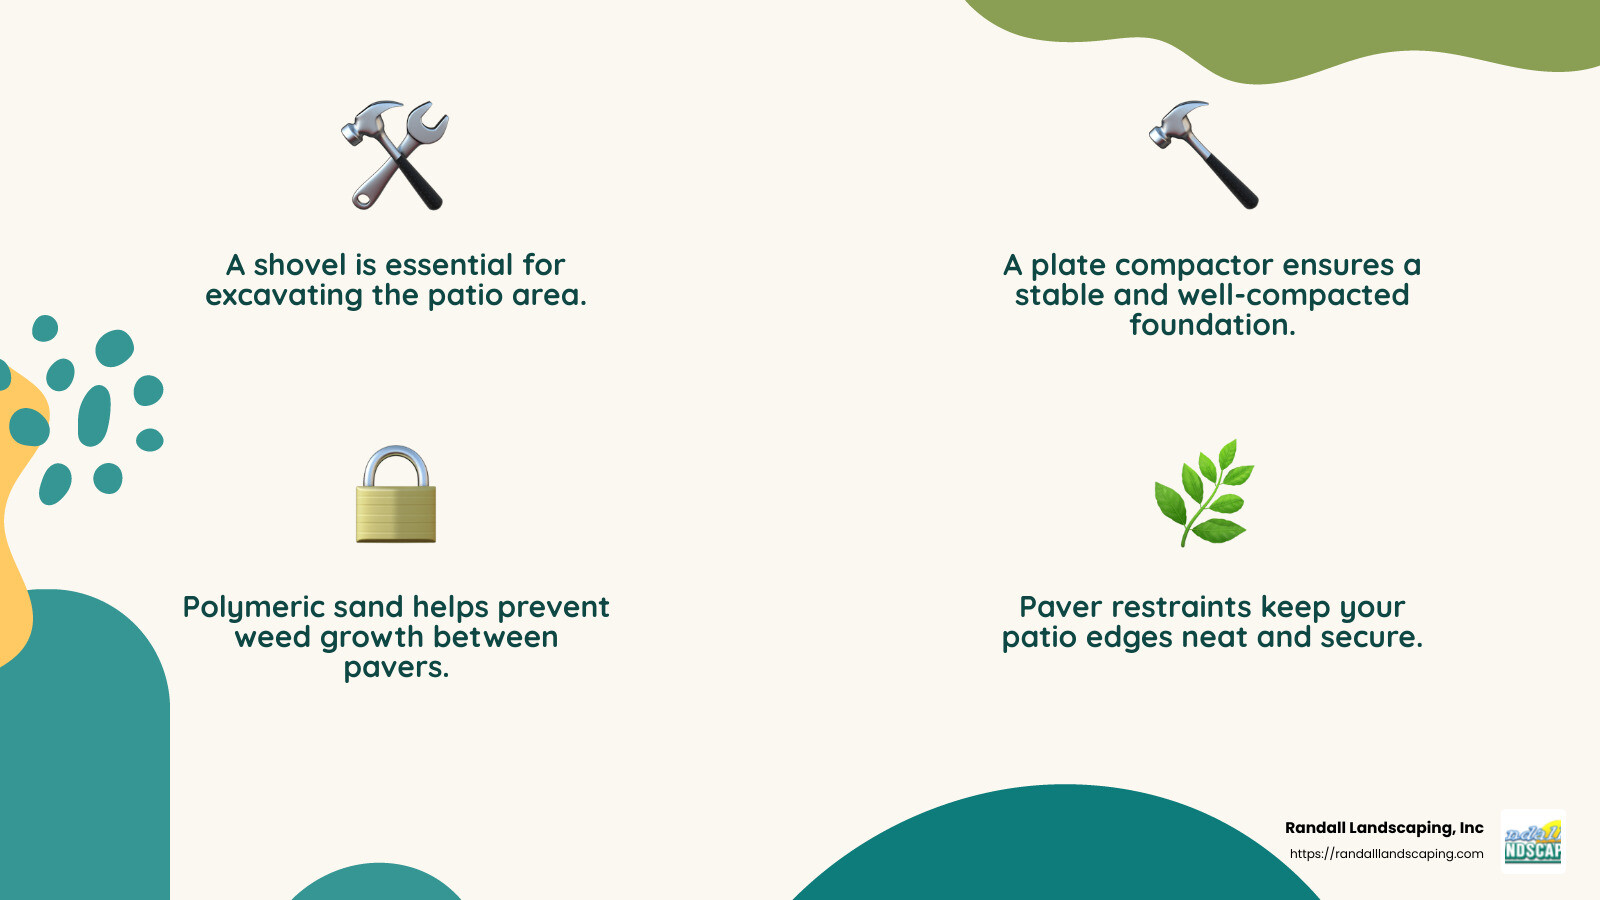
Shovel: Essential for excavating the area where your patio will be installed. It helps remove grass, soil, and debris.
-
Garden Rake: Useful for leveling the ground and spreading materials like gravel and sand evenly.
-
Plate Compactor: A must-have for compacting the paver base and sand layers. It ensures a stable foundation by minimizing air pockets.
-
Rubber Mallet: Perfect for gently tapping pavers into place without causing damage. It helps ensure each paver sits evenly.
-
Tape Measure and Level: These tools are crucial for accuracy. Use them to measure your space and ensure your patio is level as you work.
-
Safety Equipment: Don’t forget to protect yourself. Use work gloves, eye protection, and hearing protection. If you’re cutting pavers, a respirator is also recommended.
Necessary Materials
-
Paver Base (Gravel): A 6-inch layer of gravel forms the foundation of your patio. It provides stability and aids in drainage.
-
Leveling Sand: This 1-inch layer is spread over the gravel base. It helps create a smooth surface for laying pavers.
-
Polymeric Sand: Used to fill the joints between pavers. This special sand hardens when wet, preventing weed growth and insect infestations.
-
Paver Restraints: These are installed around the edges of your patio to keep pavers in place and prevent shifting over time.
-
Paver Stones: Choose from a variety of materials such as stone, brick, or concrete to match your design vision.
-
Mason Line and Stakes: These help you maintain straight lines and ensure your patio is correctly aligned during installation.
Having the right tools and materials is the backbone of a successful paver patio install and design. With these essentials in hand, you’re ready to move on to the next step: preparing the ground for your patio.
Step-by-Step Guide to Paver Patio Install and Design
Preparing the Ground
Before you start laying the pavers, it’s crucial to prepare the ground properly. This ensures your patio will be stable and long-lasting.
1. Excavation
Start by marking the area where your patio will go using stakes and mason’s line. Then, use a shovel to remove grass, roots, and debris. Dig down about 8-10 inches to make room for the foundation layers.
2. Leveling
Once excavated, ensure the ground is level. Use a long board and a level to check your work. Adjust by adding or removing soil as needed. This step is critical to prevent pavers from shifting later.
3. Compacting
With the ground leveled, compact the soil using a plate compactor. This step solidifies the base and minimizes air pockets, which helps prevent future settling.
Laying the Pavers
After preparing the ground, it’s time to lay the pavers. This part requires precision and attention to detail.
1. Base Preparation
Spread a 6-inch layer of gravel (paver base) evenly and compact it. Follow with a 1-inch layer of leveling sand, smoothing it out with a garden rake.
2. Edge Restraints
Install paver restraints around the perimeter. These keep the pavers in place and prevent shifting.
3. Pattern Alignment
Choose a pattern that suits your design, like running bond or herringbone. Align the first row of pavers along the longest edge of your patio. Use a rubber mallet to gently tap each paver into place.
4. Spacing and Cutting
Maintain consistent spacing between pavers for even joints. If you need to cut pavers to fit, use a masonry saw. Remember to wear gloves and protective eyewear.
Finalizing the Installation
With the pavers laid, it’s time to finish the installation and add those important final touches.
1. Jointing Sand
Spread polymeric sand over the pavers. Use a push broom to sweep it into the gaps. This sand hardens when wet, locking the pavers in place and preventing weed growth.
2. Compaction
Run the plate compactor over the patio surface to settle the jointing sand and ensure the pavers are secure.
3. Finishing Touches
Add any additional features like edging stones or decorative elements. Consider installing outdoor lighting or greenery to improve the space.
By following these steps, you’ll achieve a beautiful and durable paver patio install and design. Next, let’s address some common questions about the process.
Frequently Asked Questions about Paver Patio Install and Design
How much does a 20×20 paver patio cost?
The cost of a 20×20 paver patio can vary widely based on several factors. On average, expect to pay between $10 and $55 per square foot. This means a 20×20 patio could range from $4,000 to $22,000.
Factors Affecting Cost:
- Materials: Concrete pavers are generally more affordable, while natural stone can be more expensive.
- Labor: Hiring professionals will increase the cost, but it ensures quality and longevity.
- Design Complexity: Intricate patterns or additional features like fire pits can add to the overall expense.
What do you need to put under patio pavers?
Creating a solid foundation is key to a successful paver patio install and design. Here’s what you’ll need:
-
Crushed Stone (Paver Base): Start with a 6-inch layer of gravel. This layer provides drainage and support.
-
Leveling Sand: On top of the gravel, add a 1-inch layer of sand. This provides a smooth surface for laying the pavers.
-
Edge Restraints: These keep the pavers from shifting and maintain the shape of your patio.
How do you prepare ground for patio pavers?
Proper ground preparation is essential for a stable and durable patio. Follow these steps:
1. Grass Removal
Start by removing any grass or vegetation in the area. Use a shovel to dig down 8-10 inches, ensuring you have room for the foundation layers.
2. Debris Clearing
Clear away rocks, roots, and other debris. A clean area helps prevent future shifting and settling.
3. Base Preparation
After clearing, spread a 6-inch layer of crushed stone. Compact it well to create a firm base. Follow with a 1-inch layer of leveling sand. Use a garden rake to ensure it’s even.
By addressing these common questions, you’re better prepared for a successful paver patio project. Next, let’s explore the finishing touches that can lift your outdoor space.
Conclusion
At Randall Landscaping, Inc., we believe in changing your outdoor spaces into beautiful, functional areas that you can enjoy for years to come. Our commitment to quality work and customer satisfaction sets us apart. We understand that a paver patio install and design is more than just laying stones—it’s about creating a space that reflects your style and improves your home’s value.
Quality Work: Our team of skilled professionals brings years of experience to every project. We take pride in our meticulous attention to detail, ensuring that each patio we design and install not only meets but exceeds your expectations. From the initial planning stages to the final touches, we ensure that every step of the process is executed with precision and care.
Customer Satisfaction: Your satisfaction is our ultimate goal. We work closely with you to understand your vision and preferences, keeping you informed throughout the project. Our open lines of communication ensure that the final result aligns perfectly with what you envisioned. The positive feedback and long-standing relationships we have with our clients speak volumes about our dedication to excellence.
Whether you’re in Amesbury, Andover, or any of our other service areas in the Merrimack Valley and Southern New Hampshire, we are here to help you create the patio of your dreams. Visit our Patio Design page to learn more about how we can transform your outdoor space.
With Randall Landscaping, Inc., you’re not just getting a patio—you’re getting a commitment to quality and a partner dedicated to bringing your outdoor vision to life. Contact us today and let’s start creating a space you’ll love.