
Transform Your Yard: Why Garden Edging Matters
How to Install Garden Edging (Quick Steps)
If you’re looking for a fast overview of garden edging installation, here are the essential steps, expanded with key details for success:
- Plan Your Layout: Before you break ground, lay out your design. A garden hose is perfect for visualizing soft, flowing curves, while stakes and string are essential for achieving perfectly straight, geometric lines. Walk the path and view it from different angles to ensure you’re happy with the flow.
- Dig a Trench: With your path marked, use a spade or half-moon edger to cut a clean line. Then, dig a trench that’s deep enough to bury about half of your edging material and wide enough to work in. The exact depth depends on your material choice.
- Place Edging: Carefully set your edging material into the trench. Use a level frequently to ensure it’s not slanting. The top of the edging should sit at the correct height—typically just above the soil level to contain mulch but low enough so it doesn’t become a tripping hazard or interfere with mowing.
- Secure & Backfill: This step is crucial for longevity. Anchor the edging with the recommended stakes, placing them every few feet and at the ends. Once secure, backfill the trench with soil on both sides, tamping it down firmly to eliminate air pockets and provide maximum stability against frost heave and shifting.
Achieving a well-defined and manicured outdoor space starts with a key element: garden edging installation. This simple addition can dramatically improve your yard’s appearance by creating clean, crisp lines between your lawn, garden beds, and walkways. More than just a finishing touch, it solves common and frustrating landscaping headaches, turning a good yard into a great one.
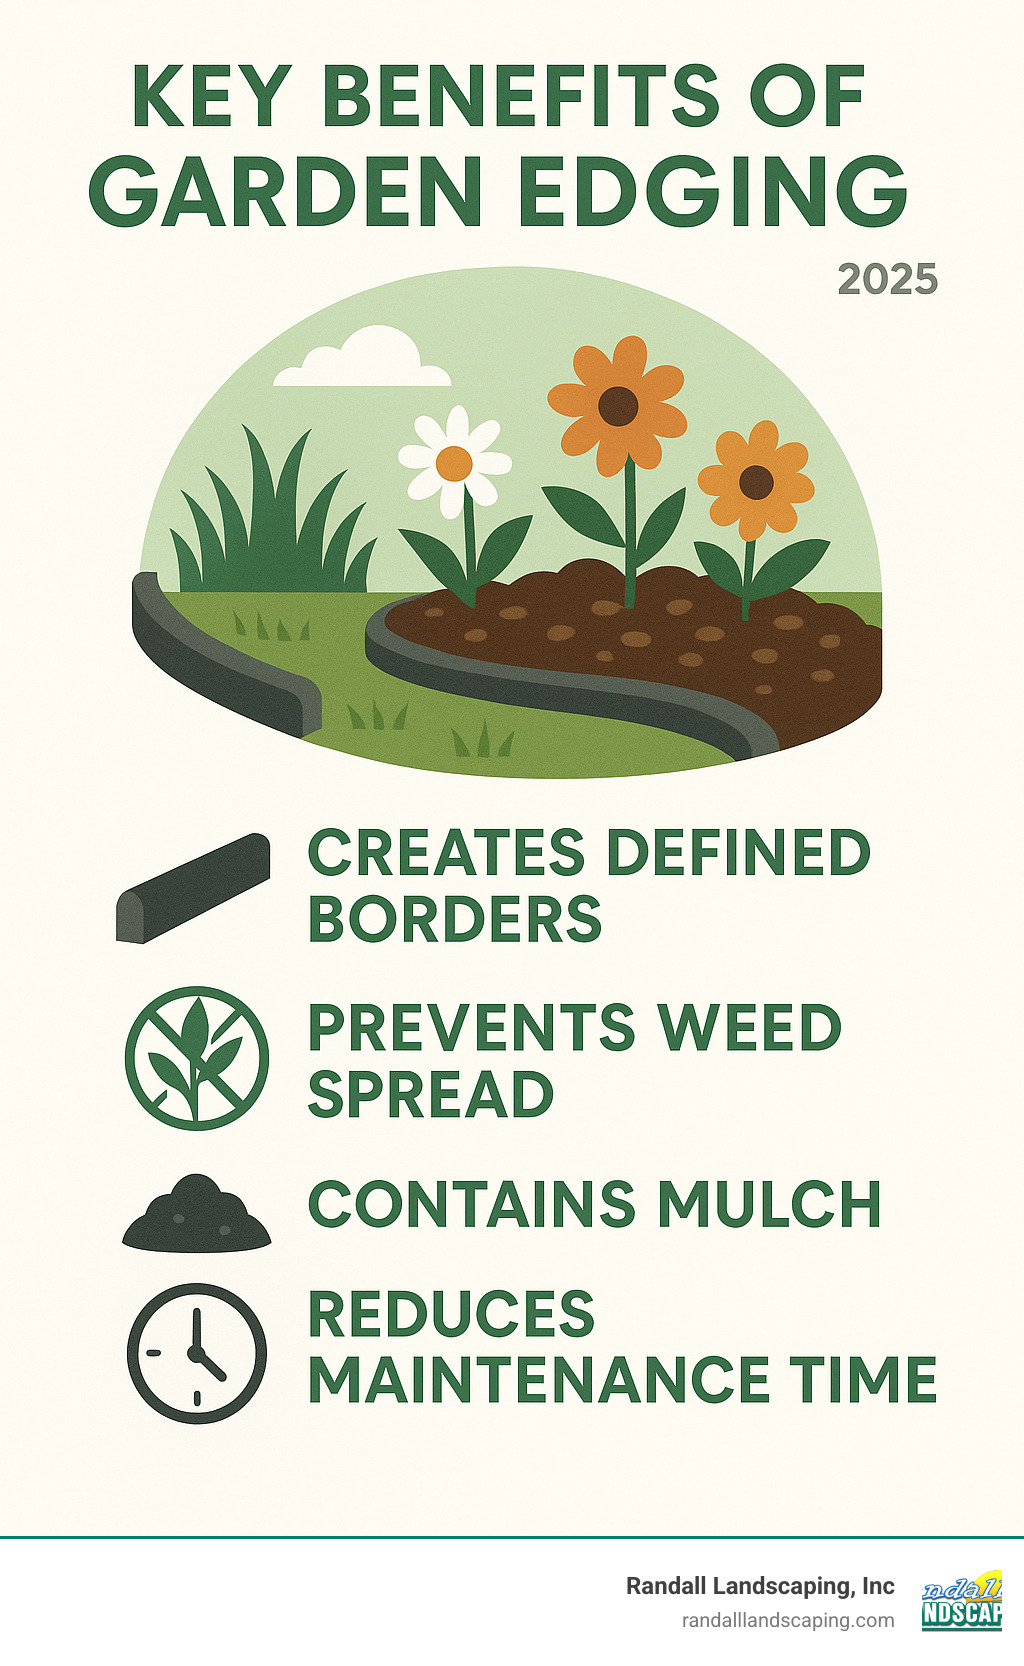
First and foremost, edging is your best defense against the relentless creep of grass and weeds into your flowerbeds. It acts as a physical, underground barrier, stopping invasive roots in their tracks. It also plays a vital role in containment, holding expensive mulch, decorative stone, and nutrient-rich soil exactly where they belong. Without it, rain and watering can easily wash your materials onto the lawn, creating a mess and wasting money. The result of a proper installation is a tidy, polished, and professional look that significantly saves you time on weekly upkeep like weeding and trimming. This project is a powerful way to boost your home’s curb appeal and overall value.
Learn more about how we combine these elements with our Mulch and Edging Services.
I’m Tommy Randall, owner of Randall Landscaping Business. With nearly two decades of hands-on experience serving homeowners throughout the Merrimack Valley and Southern New Hampshire, our team excels at changing outdoor spaces. We’ve built our reputation on quality work and 100% reliability, and that includes expert garden edging installation. We believe a job isn’t done until it’s done right, and that philosophy is woven into this comprehensive guide, where we’ll walk you through everything you need to know for a successful project.
Garden edging installation word roundup:
- cost of grass per square metre
- professional sod installation
- garden water irrigation system installation
Choose Your Material: A Comparison of Garden Edging Options
Alright, let’s talk materials! Choosing the right stuff for your garden edging is like picking out the perfect outfit – it sets the whole vibe for your yard. It’s not just about what looks good, though that’s super important! Your choice will also impact how easy it is to install, how long it lasts, and, of course, the final cost. The right material can complement your home’s architecture—like classic brick for a colonial home or sleek metal for a modern design—and tie your entire landscape together. Each material brings its own unique flavor to the table, with different perks and quirks.
Here’s a quick overview of some of the most popular garden edging materials we see, along with their main features:
| Material | Pros | Cons | Avg. Cost (per linear foot) | Durability | Installation Difficulty |
|---|---|---|---|---|---|
| Plastic/Rubber | Economical, DIY-friendly, super flexible for curves, often made from recycled materials. | Less durable, can crack/warp in harsh weather, less high-end aesthetic. | $0.50 – $5 | Low to Medium | Easy |
| Metal | Steel, aluminum, Corten steel options. Very durable, sleek and modern look, creates crisp lines. | Higher upfront cost, can be tricky to install perfectly straight, Corten steel rusts (by design). | $2 – $15 | High | Medium |
| Brick/Pavers | Classic, timeless aesthetic, extremely durable, versatile designs, can be walked on. | Higher cost, more labor-intensive installation, requires a stable base. | $3 – $25 | Very High | Medium to Hard |
| Wood | Natural, organic look, blends seamlessly with garden, can be economical depending on wood type. | Can rot, warp, or attract pests; generally shorter lifespan; requires maintenance. | $1 – $15 | Low to Medium | Easy to Medium |
| Stone | Natural, timeless, incredibly durable, variety of shapes and sizes. | Heavy, labor-intensive installation, higher cost for natural stone. | $5 – $30 | Very High | Medium to Hard |
Now, let’s dig a little deeper into each one, so you can decide what fits your vision for the perfect garden edging installation!
Plastic & Rubber Edging
If you’re looking for a budget-friendly option that’s easy to work with, plastic and rubber edging might be just the ticket. It’s super economical, which is great if you’re covering a lot of ground or just starting out with DIY landscaping projects. You can bend it easily to create gentle curves, making it very DIY-friendly. Plus, many options are made from recycled materials, which is a big win for our planet!
However, it has its downsides. Over time, UV rays from the sun can make plastic brittle, leading to cracks. While flexible, it can be difficult to achieve a perfectly straight, professional-looking line, as it can appear wavy if not installed carefully. While it’s a practical choice for keeping grass out of beds in less visible areas, it might not have the high-end look you want for a prominent front yard garden. Want to explore more ways to be green in your garden? Check out our page on eco-friendly mulch options!
Metal Edging
For a sleek, modern look that’s built to last, metal edging is a fantastic choice. You’ll often find it in materials like steel, aluminum, and Corten steel. Aluminum is lightweight and rust-proof, while steel is heavier and stronger (look for galvanized or powder-coated options to prevent rust). Corten steel is a special alloy designed to develop a stable, rust-like patina that protects it from further corrosion and provides a beautiful, rustic look. Metal edging is incredibly durable and creates those crisp, clean lines that really make your landscape pop.
It can be installed to be almost invisible, creating a seamless transition. It’s a bit more of a commitment in terms of cost and installation—you may need a hacksaw to cut pieces and should be careful with sharp edges—but the long-lasting, sophisticated result is often worth it. Curious about how to tackle the installation yourself? This guide from HGTV shares some great tips: How to Install Garden Edging.
Brick & Paver Edging
Ah, the timeless appeal of brick and paver edging! If you’re going for a classic, established garden feel, this is your go-to. It offers a wonderfully classic aesthetic and is incredibly durable, standing up to weather and wear for years. The best part? Bricks and pavers come in so many shapes, sizes, and colors, allowing for truly versatile designs.
You can lay them in various patterns, set them at an angle for a sawtooth look, or install them flush with the lawn to create a “mower strip” that your lawnmower wheel can run along, eliminating the need for trimming. It’s a bit more involved to install, as it requires a properly compacted base of gravel and sand to prevent shifting, but the finished look is simply stunning. This type of edging falls under the umbrella of hardscaping, a specialty of ours. Learn more about our overall hardscaping services!
Wood & Stone Edging
For those who love a natural look that blends seamlessly with the environment, wood and stone edging are perfect. Wood, like durable eucalyptus, cedar, or redwood, brings warmth and an organic feel to your garden. Pressure-treated pine is a more economical choice, but be aware of the chemicals used. Wood is excellent for rustic or woodland designs, but it will require maintenance like sealing or staining to prevent rot and wear.
Stone, on the other hand, offers unparalleled durability and a timeless appeal. You can choose from irregular fieldstone for a rustic look, flat flagstone for a neat border, or uniform cut stone for a more formal appearance. It can be dry-stacked for a natural, forgiving installation or set in mortar for a permanent, solid wall. And for something truly unique and eco-conscious, we’ve even seen creative uses of recycled bottles cleverly integrated into stone or concrete borders for a whimsical touch!
Please note, these are average costs based on online data and do not reflect actual pricing. Costs can range from $2 to over $30 per linear foot, depending on the material, complexity, and whether you DIY or hire a professional.