
Why the Sod Installation Process Gives You a Lawn in Days, Not Months
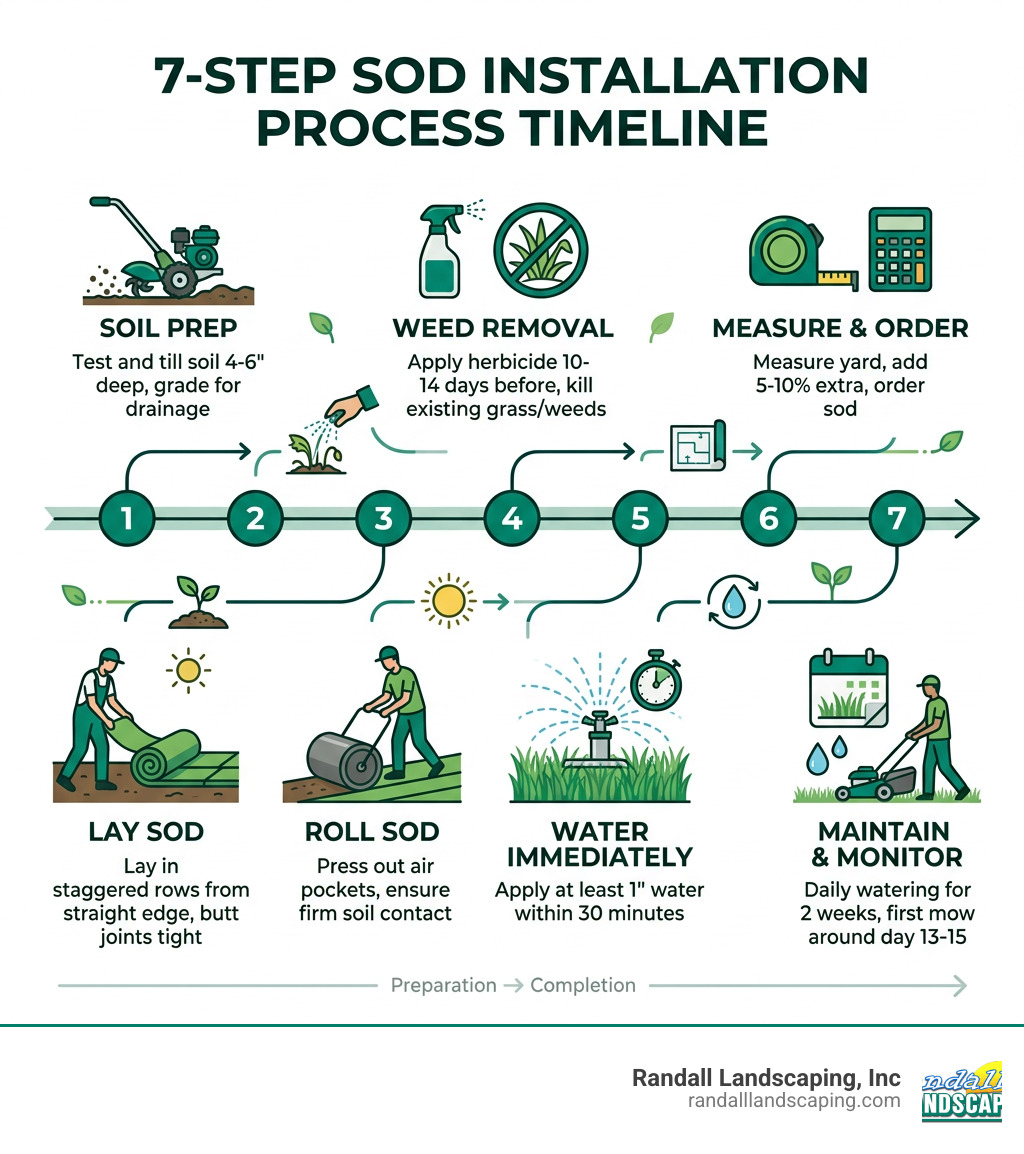
The sod installation process is one of the fastest ways to go from bare dirt to a lush, green lawn — often in a single weekend. Here’s a quick overview of the core steps:
- Test and prep your soil – till 4-6 inches deep, grade for drainage
- Kill existing weeds and grass – apply herbicide 10-14 days before
- Measure your yard and order sod – add 5-10% extra for waste
- Lay sod in staggered rows – start from a straight edge, butt joints tightly
- Roll the sod – press out air pockets for firm soil contact
- Water immediately – at least 1 inch within 30 minutes of installation
- Maintain and monitor – daily watering for 2 weeks, first mow around day 13-15
Unlike grass seed — which can take weeks just to germinate and months to fill in fully — sod gives you a usable lawn within days. It also controls erosion better than seed, especially on slopes and hills.
I’m Tommy Randall, owner of Randall Landscaping, Inc., and I’ve been guiding homeowners through the sod installation process across Massachusetts and New Hampshire since 2006. In this guide, I’ll walk you through everything I’ve learned from nearly two decades of hands-on installs — so you can get it right the first time.
Sod installation process basics:
Planning and Preparation: The Foundation of a Great Lawn
The secret to a successful sod installation process isn’t actually in the laying of the grass—it’s in the work you do before the delivery truck arrives. Think of sod as a living carpet; if the floor underneath is lumpy and full of holes, the carpet will never look right.
Best Timing: Fall vs. Spring
In the Merrimack Valley and Southern New Hampshire, timing is everything. We generally recommend the fall as the absolute best time for installation. The cooler temperatures and consistent moisture levels allow the roots to establish without the stress of the summer heat. Spring is a solid second choice, particularly for cool-season grasses like Kentucky Bluegrass or Tall Fescue. Avoid the dead of summer if possible; while you can lay sod then, it requires an immense amount of water to keep the pallet from “cooking” and the roots from drying out.
Measuring Square Footage
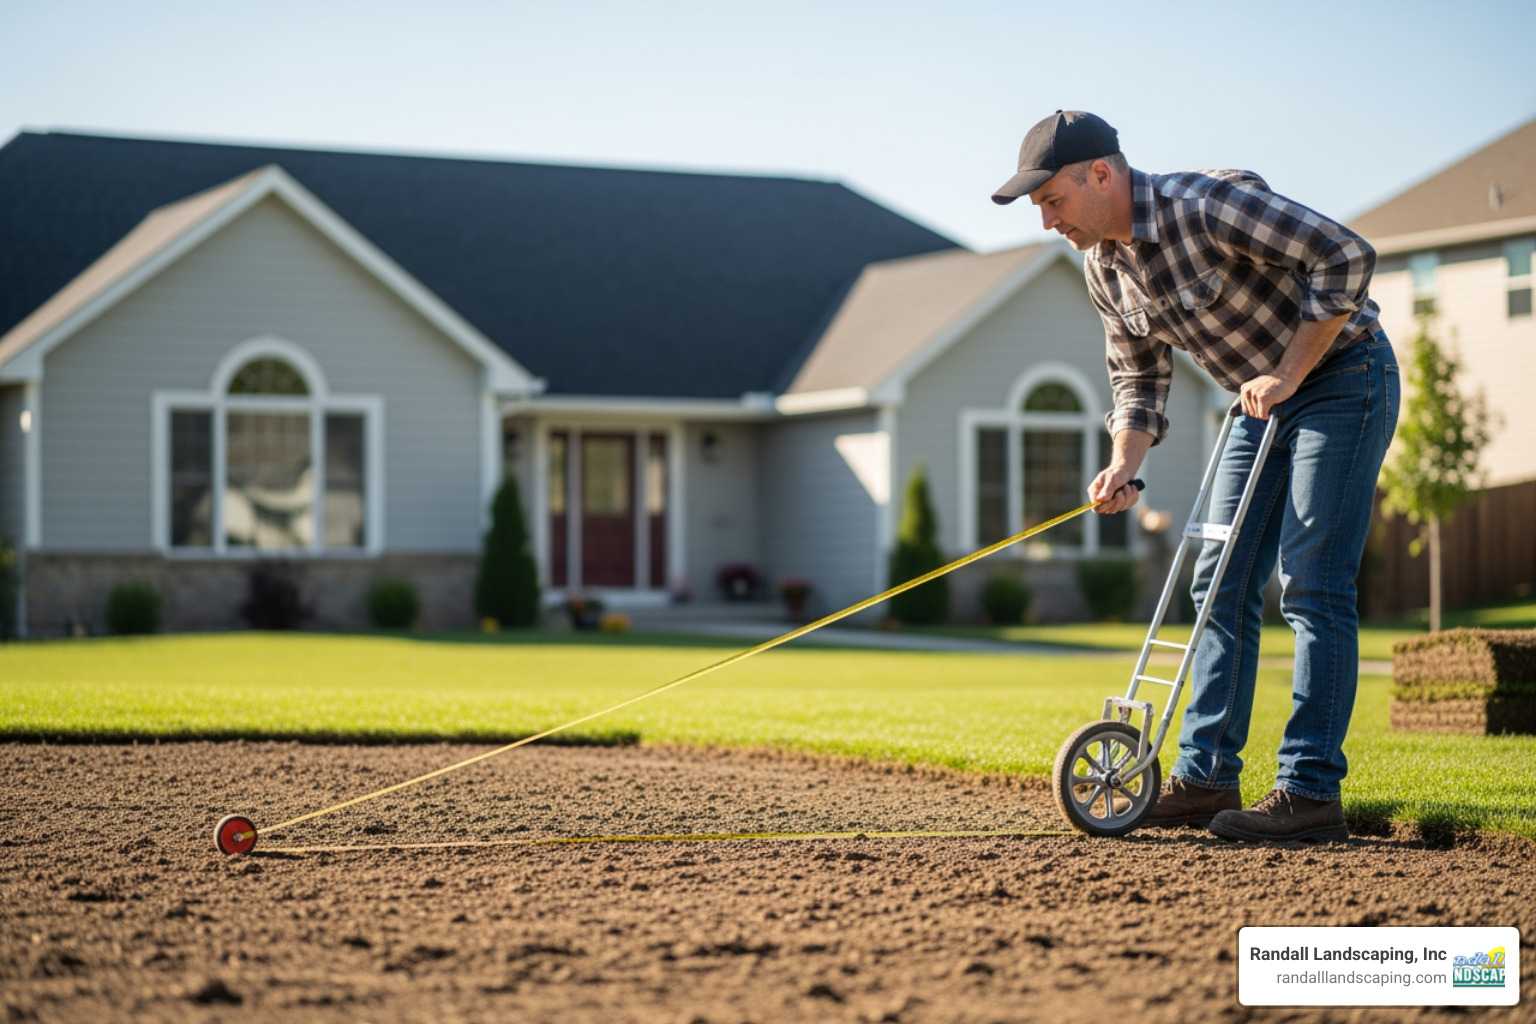
Before you order, you need an accurate number. You can use a measuring wheel for precision, but the “walking step method” is a great DIY hack. For most people, a comfortable stride is about 2.5 to 3 feet. Walk the length and width of your yard, counting your steps. Multiply the steps by three to get the dimensions in feet, then multiply the length by the width to get your square footage.
Ordering 5-10% Extra
Never order the exact square footage of your yard. Between trimming around curves, fitting pieces into corners, and the occasional damaged slab, you will need a buffer. We suggest ordering 5-10% extra to ensure you don’t run out mid-project. Sod is a perishable product; it is usually harvested in the middle of the night and should be installed within 24 hours of delivery. For more professional insights, check out our new lawn installation services.
Soil Testing and Weed Suppression
You wouldn’t build a house on a swamp, and you shouldn’t lay sod on “tired” soil. We highly recommend a soil test to check your pH and nutrient levels. Ideally, your soil should be slightly acidic, between 6.0 and 7.5. You can get kits at local garden centers or contact your county extension office for a more technical analysis.
If you have existing grass or a field of weeds, you must clear the slate. Applying a glyphosate-based herbicide 10-14 days before your install is the standard industry practice. If the grass isn’t completely dead after 4 days, a second application might be necessary. Once the vegetation is brown and brittle, use a sod cutter to remove the old turf. This ensures your new sod makes direct contact with the soil rather than sitting on a layer of rotting debris.
Preparing the Ground for the Sod Installation Process
Once the old grass is gone, it’s time to “fluff” the bed. Use a rototiller to loosen the top 4-6 inches of soil. This is the perfect time to incorporate amendments like compost or lime based on your soil test results.
Remove any large rocks, sticks, or debris that the tiller unearthed. Next, perform a “rough grade” to ensure water drains away from your home’s foundation. A gradual slope is your friend here. Finish with a “fine grade” using a landscape rake to create a smooth, level surface. We recommend keeping the soil level about 1 inch below adjacent surfaces like sidewalks or driveways so the grass sits flush once installed. For a deeper dive into these prep steps, see our guide on how to plant a lawn from sod.
Executing the Sod Installation Process Step-by-Step
Now for the “instant grass-ification.” When your sod arrives, keep it in the shade if you can’t lay it immediately. If the slabs feel dry or hot to the touch, lightly mist the outside of the pallet, but don’t soak it.
The First Row and Staggering Seams
Always start along the longest straight edge of your yard—usually a driveway, fence line, or sidewalk. Unroll the first piece carefully, ensuring it is perfectly straight. As you move to the second row, stagger the seams like bricks in a wall. This is a critical part of the sod installation process because it prevents long, continuous gaps where water could channel and cause erosion or where weeds could easily poke through.
Butt Joints Tightly
When placing pieces together, butt the edges tightly against each other. Do not overlap the pieces, as this creates humps that will be scalped by your mower later. Conversely, don’t leave gaps; gaps dry out the edges of the sod, leading to brown lines in your new lawn. If you find a gap, don’t stretch the sod to fit—instead, cut a small piece to fill it.
For more technical tips, you can refer to this Sod Installation Guide – Sod Solutions.
Essential Tools for the Sod Installation Process
To do this right without ruining your back, you need the right gear:
- Rototiller: To loosen the earth.
- Lawn Roller: Essential for pressing the sod into the soil after laying.
- Linoleum Knife or Razor Knife: For precision trimming around obstacles.
- Wheelbarrow: To move heavy slabs from the pallet to the work area.
- Turf Staples: To hold sod in place on steep inclines.
Handling Slopes, Curves, and Obstacles
Installing sod on a hill? Always lay the pieces horizontally across the slope, never vertically. This prevents the pieces from sliding and helps catch rainwater. For very steep hills, use biodegradable turf staples to anchor the slabs until the roots take hold.
When you encounter curves, like a flower bed, don’t try to bend the sod. Instead, lay the piece over the edge and use your knife to trim it to shape. A pro tip is the “dart” cut: make a small V-shaped snip in the sod to allow it to follow a curve without bunching up. Avoid using very small pieces at the edges, as they dry out much faster than full slabs. If you’d rather leave the heavy lifting to us, explore our professional sodding lawn services.
Post-Installation Care: Watering, Mowing, and Maintenance
Congratulations, you have a green lawn! But don’t break out the lawn chairs just yet. The first three weeks are the most fragile period for your new grass.
The 1-Inch Water Rule
You must water your new sod within 30 minutes of installation. The goal is to get at least 1 inch of water down immediately to soak the sod and the soil beneath it. For the first 9 days, we recommend watering twice daily—once in the early morning and once in the late afternoon. You want the soil to be moist 3-4 inches deep, but avoid creating a muddy swamp, which can lead to root rot.
Around day 10, you can transition to once-daily watering. By day 16, you should be aiming for about 1 to 1.5 inches of water per week, delivered in deep, infrequent sessions to encourage the roots to grow deep into the ground. For more details, see our lawn installation maintenance tips.
Mowing and Fertilizing New Turf
When can you finally mow? Usually, this happens between day 13 and 15, provided the grass has grown to about 3 or 4 inches. Before you start the engine, perform the “pull test.” Gently tug on a corner of the sod; if you feel significant resistance, the roots have knitted into the soil.
Mowing Tips:
- Set your mower to its highest setting (usually 3 inches).
- Ensure your blades are razor-sharp to avoid tearing the new grass.
- Never remove more than 1/3 of the grass blade at once.
As for fertilizer, use a “starter” fertilizer high in phosphorus to encourage root development. We suggest applying this at a half-rate shortly after installation. Avoid any “weed and feed” products or herbicides for at least the first 60 days, as these chemicals can stress or even kill the young, tender roots.
Troubleshooting the Sod Installation Process
If you notice brown spots, it might not be a lack of water. “Pallet heating” occurs when sod sits on a pallet too long in the sun; the center of the roll literally begins to compost, killing the grass. This is why immediate installation is non-negotiable.
If the sod feels “squishy” or you see a grayish mold, you are likely overwatering, which can lead to fungus. In these cases, a light application of fungicide might be necessary. Always check for root health by looking for fresh white roots attaching to the soil. For more troubleshooting, this Sod Installation Guide – This Old House is an excellent resource.
DIY vs. Professional Installation: Costs and Considerations
Is the DIY route right for you? It depends on your physical stamina and the size of your yard. Laying 1,000 square feet of sod is a heavy, dirty job that usually takes two people a full weekend.
| Feature | Sod Installation | Grass Seeding |
|---|---|---|
| Time to Green | 1-2 Days | 2-4 Weeks |
| Establishment | 2-4 Weeks | 6-12 Months |
| Erosion Control | Excellent | Poor (initially) |
| Upfront Cost | Higher | Lower |
| Maintenance | Low (after 3 weeks) | High (first 6 months) |
Understanding the Investment
When budgeting for your project, keep in mind that costs can vary wildly based on the quality of the sod and the complexity of your site. Based on general internet data, the average cost for professional installation ranges from $0.35 to $2.50 per square foot.
Please note: These are average costs based on national internet data and do not represent the actual pricing of Randall Landscaping, Inc. For a precise quote tailored to the Merrimack Valley or Southern New Hampshire, please contact us directly.
A DIY project for a 1,000-square-foot lawn might cost you between $300 and $900 in materials and rentals. Hiring a professional can double that cost, but it comes with 100% reliability, heavy machinery that saves your back, and often a warranty on the labor and materials. For more on how we price our projects, visit our average sod installation price guide.
Frequently Asked Questions about the Sod Installation Process
What are the most common mistakes to avoid?
The biggest mistake is poor soil preparation. If you don’t kill the weeds or level the ground, your expensive sod will be lumpy and full of crabgrass within a year. Other common pitfalls include overlapping the seams (creating ridges) and waiting too long to water. Once that sod is cut at the farm, the clock is ticking!
How long does it take for sod to become fully established?
You’ll see surface rooting in about 10-14 days. However, “full establishment”—meaning the lawn can handle heavy foot traffic, dogs, and kids—typically takes 4 to 6 weeks. We recommend keeping heavy activity off the lawn for the first month to give those roots a chance to dive deep.
What should I do if my sod isn’t rooting properly?
First, check for air pockets. If the sod isn’t touching the dirt, it can’t root. Use a lawn roller to ensure firm contact. Second, check your watering. If it’s too dry, the roots will shrivel; if it’s too wet, they will rot. If you’ve done everything right and it’s still failing, it may be a soil compaction issue or a lack of nutrients, at which point a professional consultation is your best bet.
Conclusion
Mastering the sod installation process is the ultimate shortcut to a beautiful home exterior. While it requires a bit of sweat equity and a lot of water in the early days, the reward is a mature, healthy lawn that increases your property value and provides a safe place for your family to play.
At Randall Landscaping, Inc., we’ve built our reputation on quality work and 100% reliability. Whether you are in Andover, Salem, Windham, or anywhere else in the Merrimack Valley and Southern New Hampshire, we are here to help you achieve “instant grass-ification.” We handle everything from the initial soil test to the final rolling, ensuring your investment thrives for years to come.
Ready to transform your yard without the backache? Contact us for professional sod installation near me and let’s get started on your dream lawn today!